Post-Installation
Assuming you've completed the Installation part, let's continue with post-installation!
Fix High DPI Scaling
-
Navigate to your Licentia NEXT installation directory, open the
Stock Gamefolder, right clickSkyrimSE.exeand left clickPropertieson the bottom: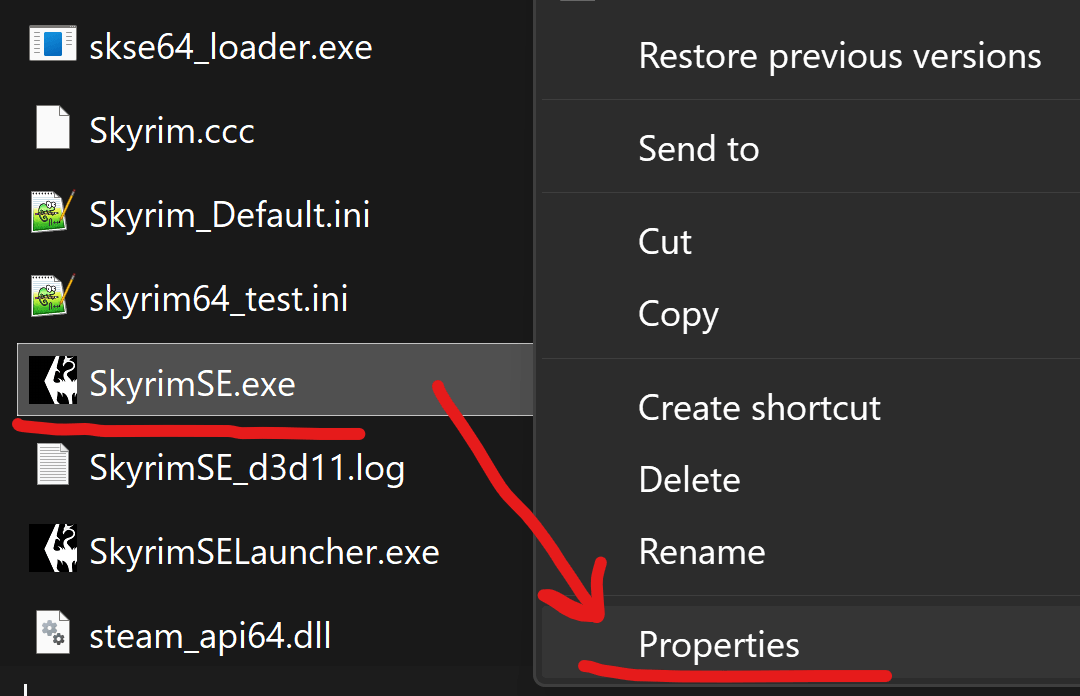
-
In the newly opened Properties window, navigate to
Compatibilitytab: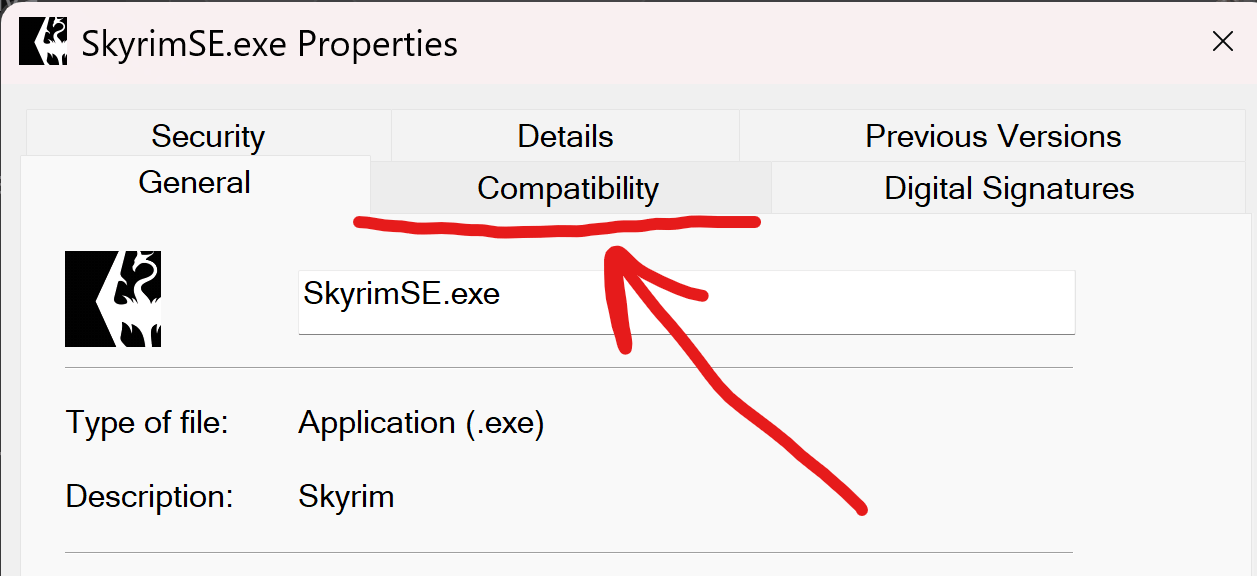
-
Click on
Change High DPI settings: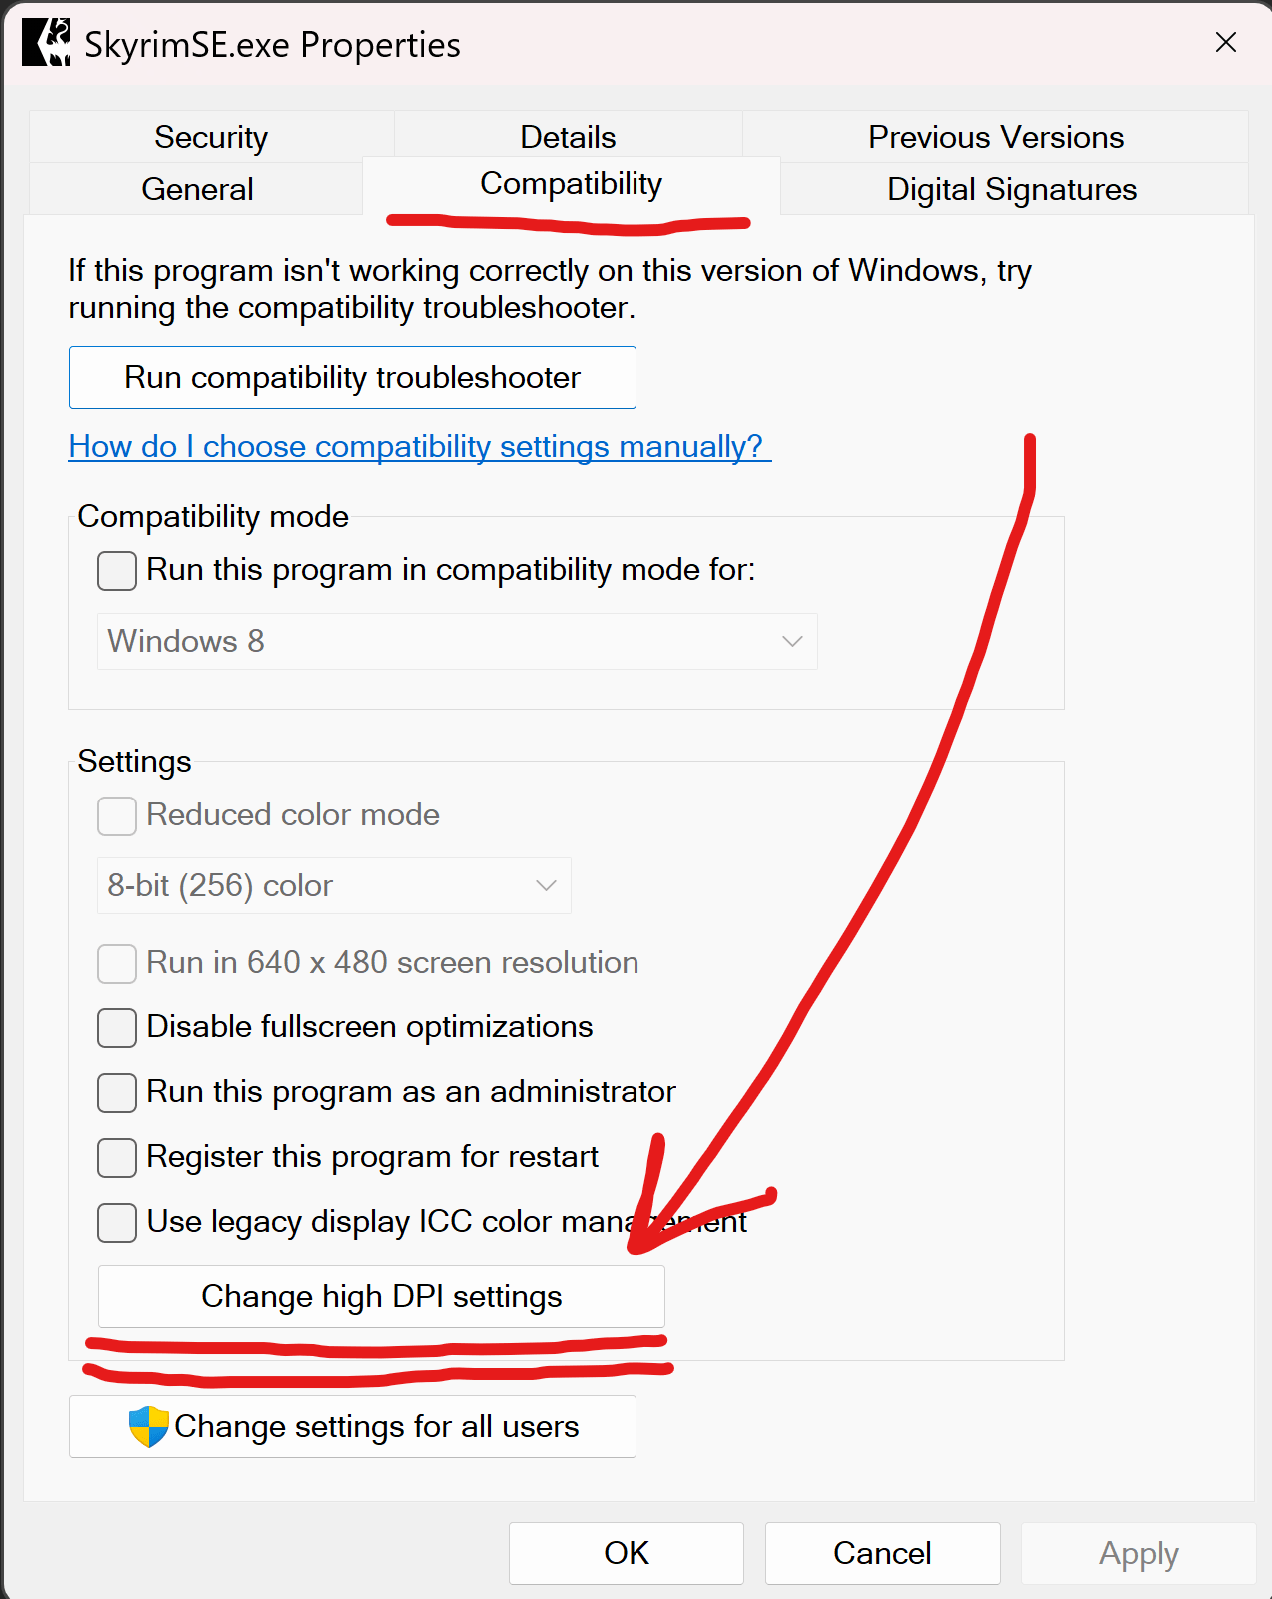
-
In the newly opened High DPI Settings window tick
Override High DPI scaling behavior(1), in the dropdown list selectApplication(2), and then clickOKtwo times (for this window and the Properties one that was in the background) to save your changes (3):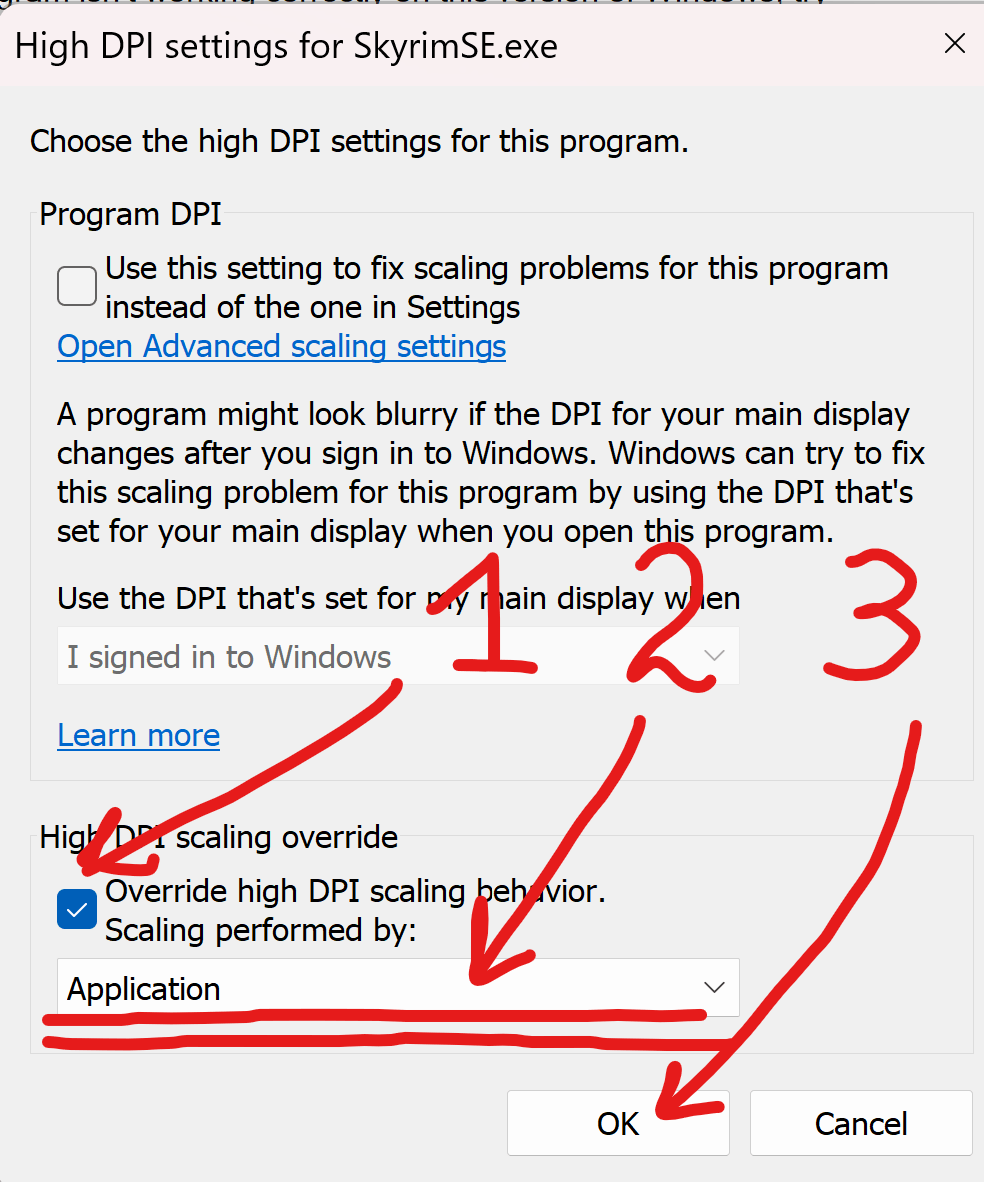
IF YOUR MONITOR IS 60 HZ OR LOWER (here's a guide on how to check that), you would need to apply VSync (Vertical Sync, or Vertical Synchronization) to SkyrimSE.exe to avoid screen tearing in-game.
To do that, open your NVIDIA Control Panel (or AMD equivalent), navigate to Manage 3D settings (1), switch to Program Settings tab (2), find SkyrimSE.exe in the drop-down list of programs (3), set Vertical sync to On for it (4), and click Apply to save the changes (5):

Start MO2 and launch the list
-
Navigate to your Licentia NEXT directory and execute
ModOrganizer.exe: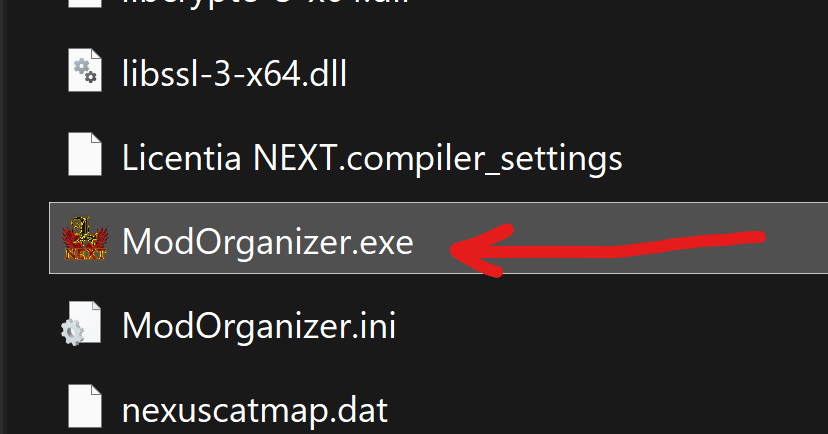 tip
tipIF YOU CAN'T FIND the
ModOrganizer.exedespite Wabbajack telling you the install finished successfully — for example your folder looks like this: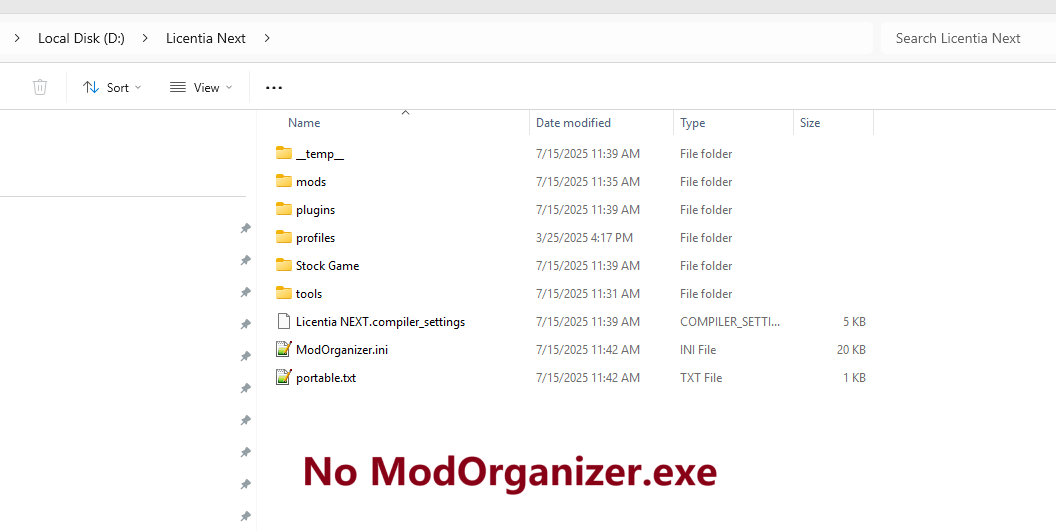
Go back to Installation and keep re-installing Licentia NEXT until you see that
ModOrganizer.exefile appeared in your Licentia NEXT's folder. If this is an existing setup, use How to update instead, since updating and re-installing are the same Wabbajack process.THIS IS NOT A LICENTIA NEXT ISSUE, IT'S A WABBAJACK ISSUE since version
4.0+. We can't do anything about it, sorry. -
If prompted, choose
Yesto associate Mod Organizer with.nxmlinks. If there’s no prompt, skip this step. -
In the top-right corner, make sure that
SKSEis selected from the dropdown (1), and click the Run button (2):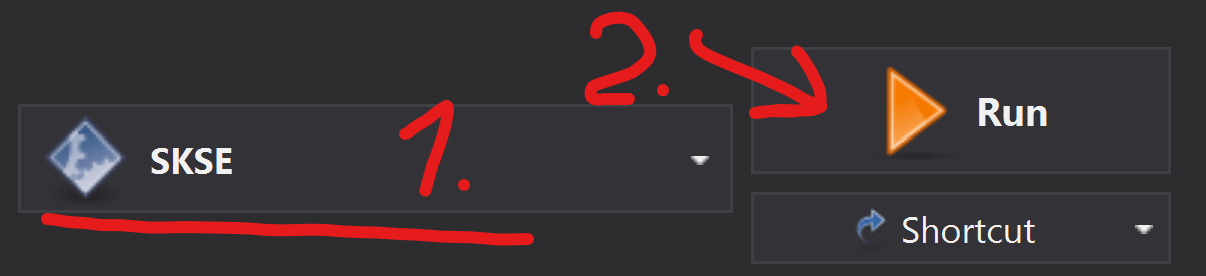 tip
tipWabbajack auto-detects and sets your game resolution, but if you wish to change it manually/or if the game is launching with the wrong one — select the
INI Editorfrom theToolsmenu along the icon bar of MO2:
Select
SkyrimPrefs.inifile. Scroll down until you see the[Display]header and look for theiSizevalues. Note that the TYPICAL ORDER IS REVERSED, the HEIGHT is listed BEFORE the WIDTH: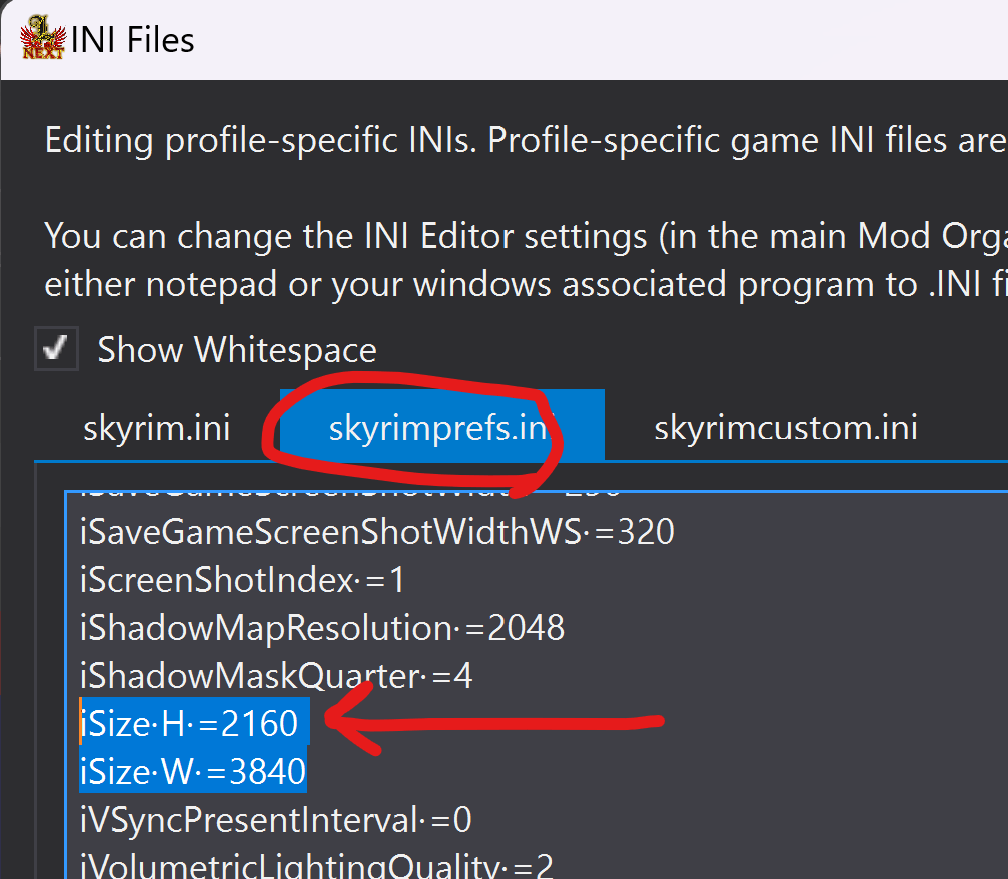
Hit
Saveat the bottom, and you're done! -
Wait until the game loads, it might take a while!
noteThere's a game of
Flappy Dragonthat opens up while your Skyrim is loading: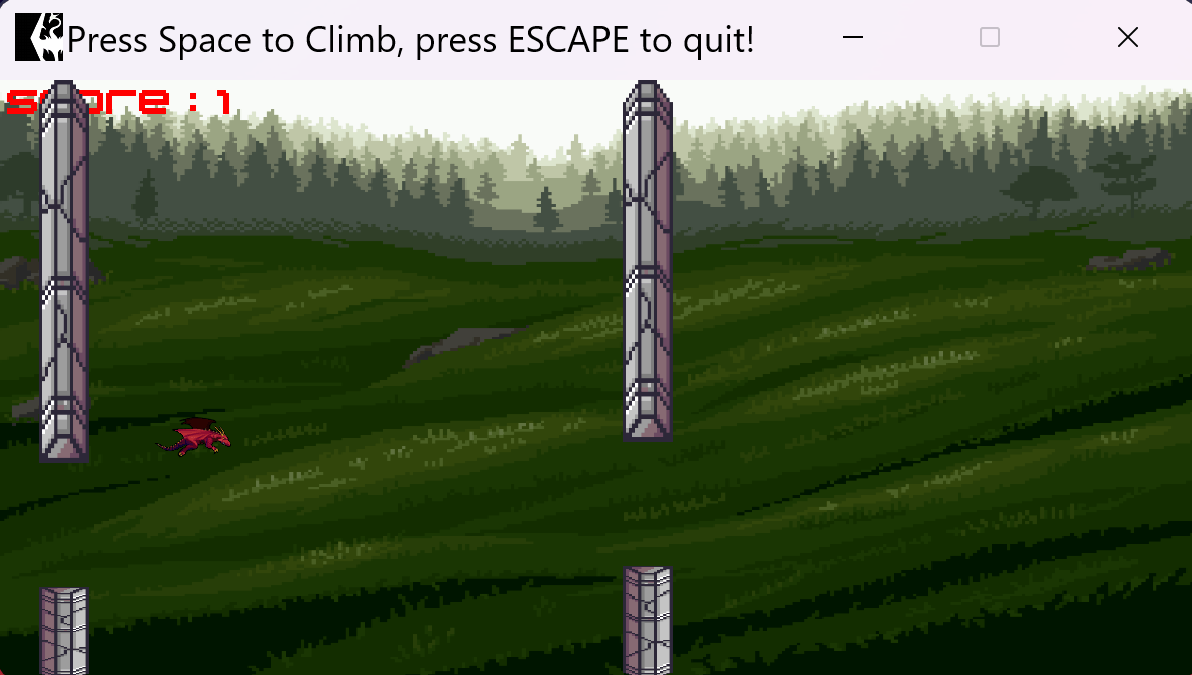
Don't worry, you didn't just download half a terabyte of Flappy Dragon!
It's there just to brighten up the waiting time 🐲
-
When you're in the main Skyrim menu — proceed to the next step.
tipIf your game menu looks zoomed in and/or too small — read the resolution section above and make sure you've applied the
High DPI Scalingfix at the top of this page!
Start the new game
-
Start the new game — in main menu as normal by pressing
New Game -
Create & name your character — choose your character’s appearance and name.
-
Wait for mod initialization and list auto-configuration
noteSince
13.4.1Licentia NEXT has a fully automated list configuration process thanks to our own amazing @ninjawaffle!It would take some time to complete, but you won't have to do anything manually.
cautionWhen you spawn in after character creation, YOU WON'T BE ABLE TO CONTROL YOUR CHARACTER UNTILL THE LIST HAS FINISHED ITS AUTO-CONFIGURATION!
-
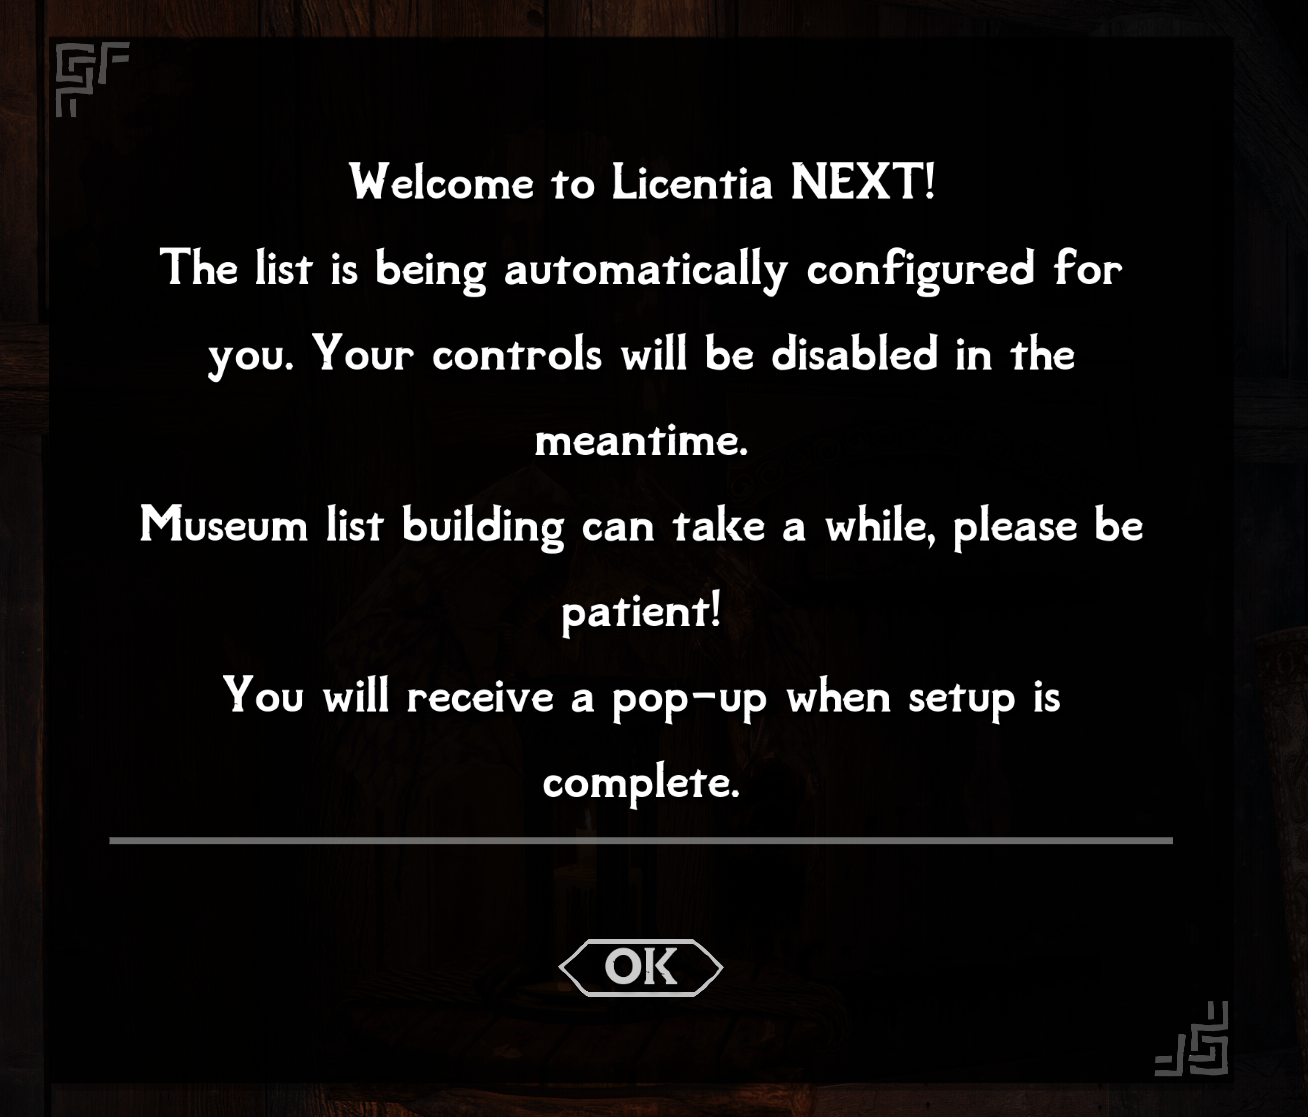
You will be greeted with this pop-up message:
-
Read it, click
OKand wait. The list will now auto-configure itself!
tipThis may take a while, depending on your PC (from 5 minutes on fast PCs to 20 on slow ones). Don't worry, it's normal, just wait.
-
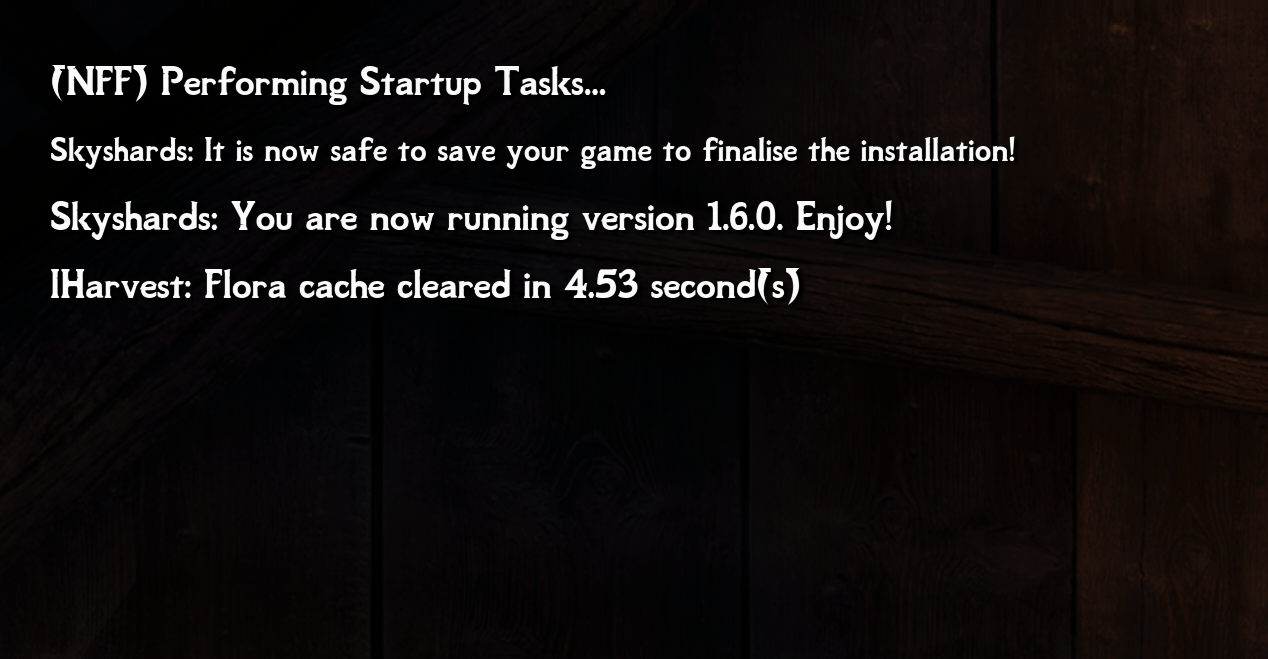
You'll see various mods being auto-configured in the top-left corner of the screen:
-
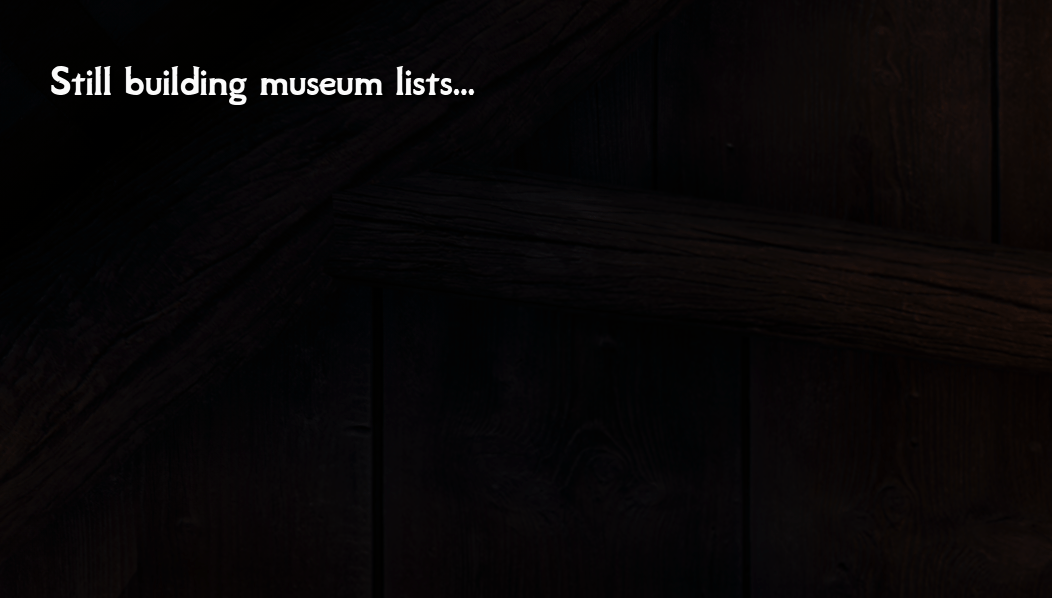
And our automatic script will send these notifications every 15-20 seconds to let you know that we're still in progress:
-
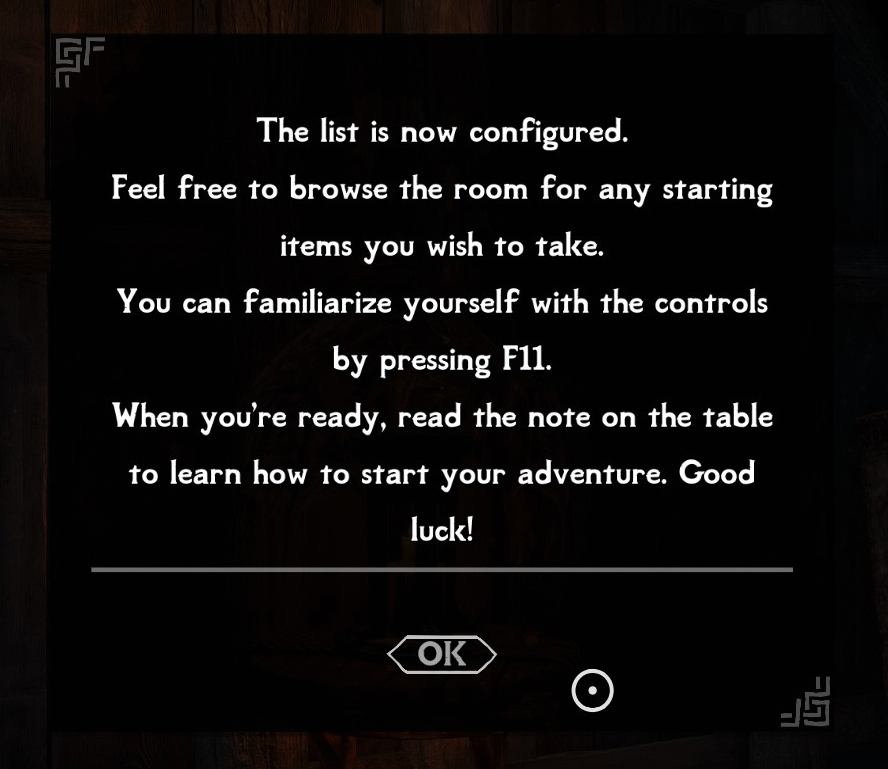
When the auto-configuration is done, you'll see this pop-up message:
-
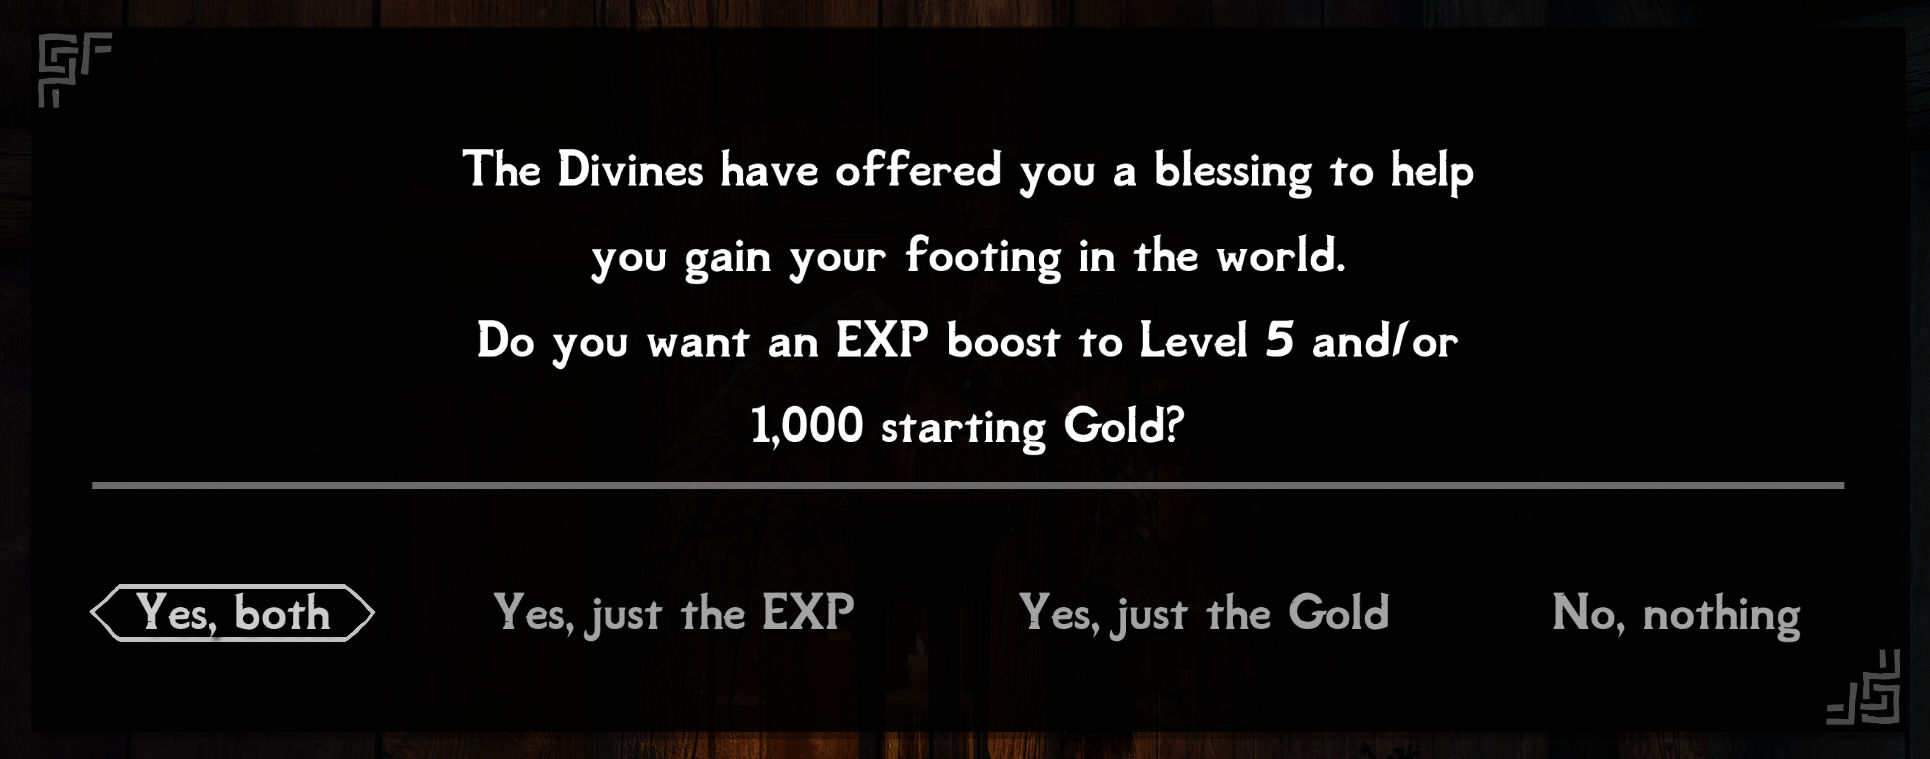
Next you'd be offered a divine blessing with LVL 5 and/or 1000 gold. Choose according to your preference:
THE LIST IS COMPLETELY CONFIGURED NOW!
-
-
Save your game by pressing
F5(or from the main menu), exit the game COMPLETELY TO THE DESKTOP, start it again via MO2 as described above in step 3, and load that save. -
Follow these recommended steps on how to properly leave the starting room and begin your playthrough:
-
LOOT THE ROOM for any valuables you may find!
-
Then walk to the table on your left and interact with the
How to start the game!note on it: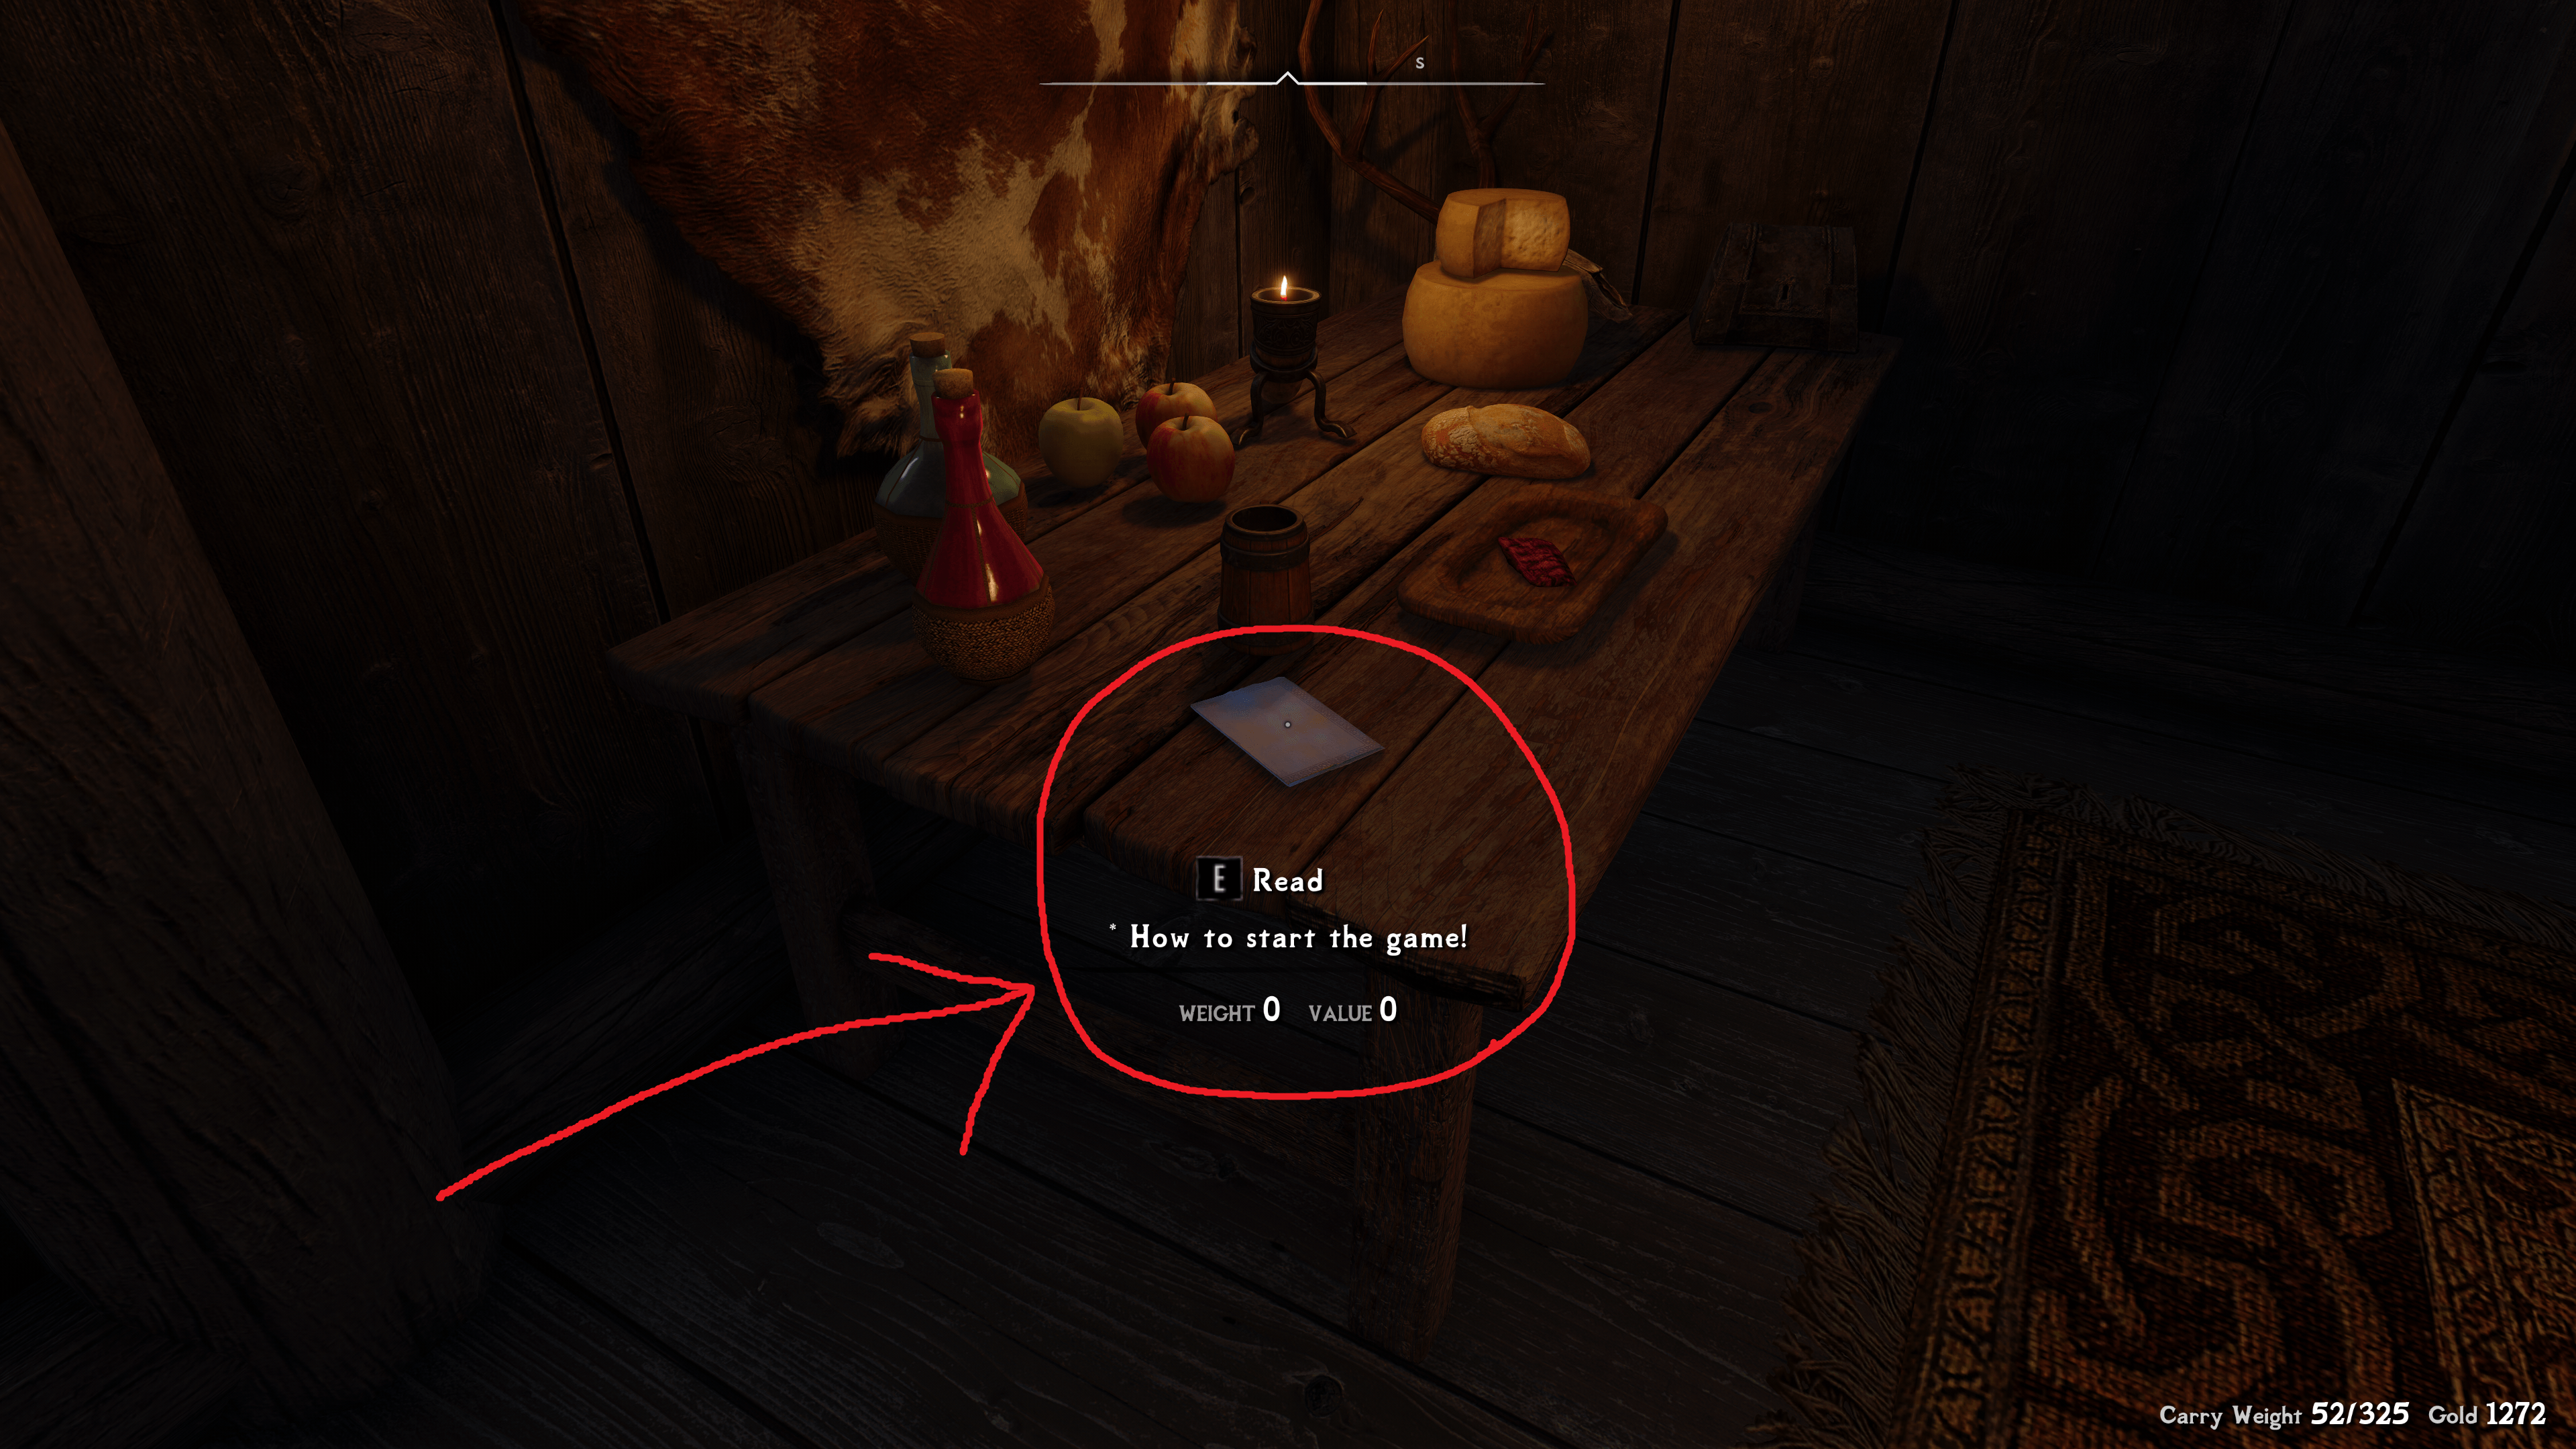
-
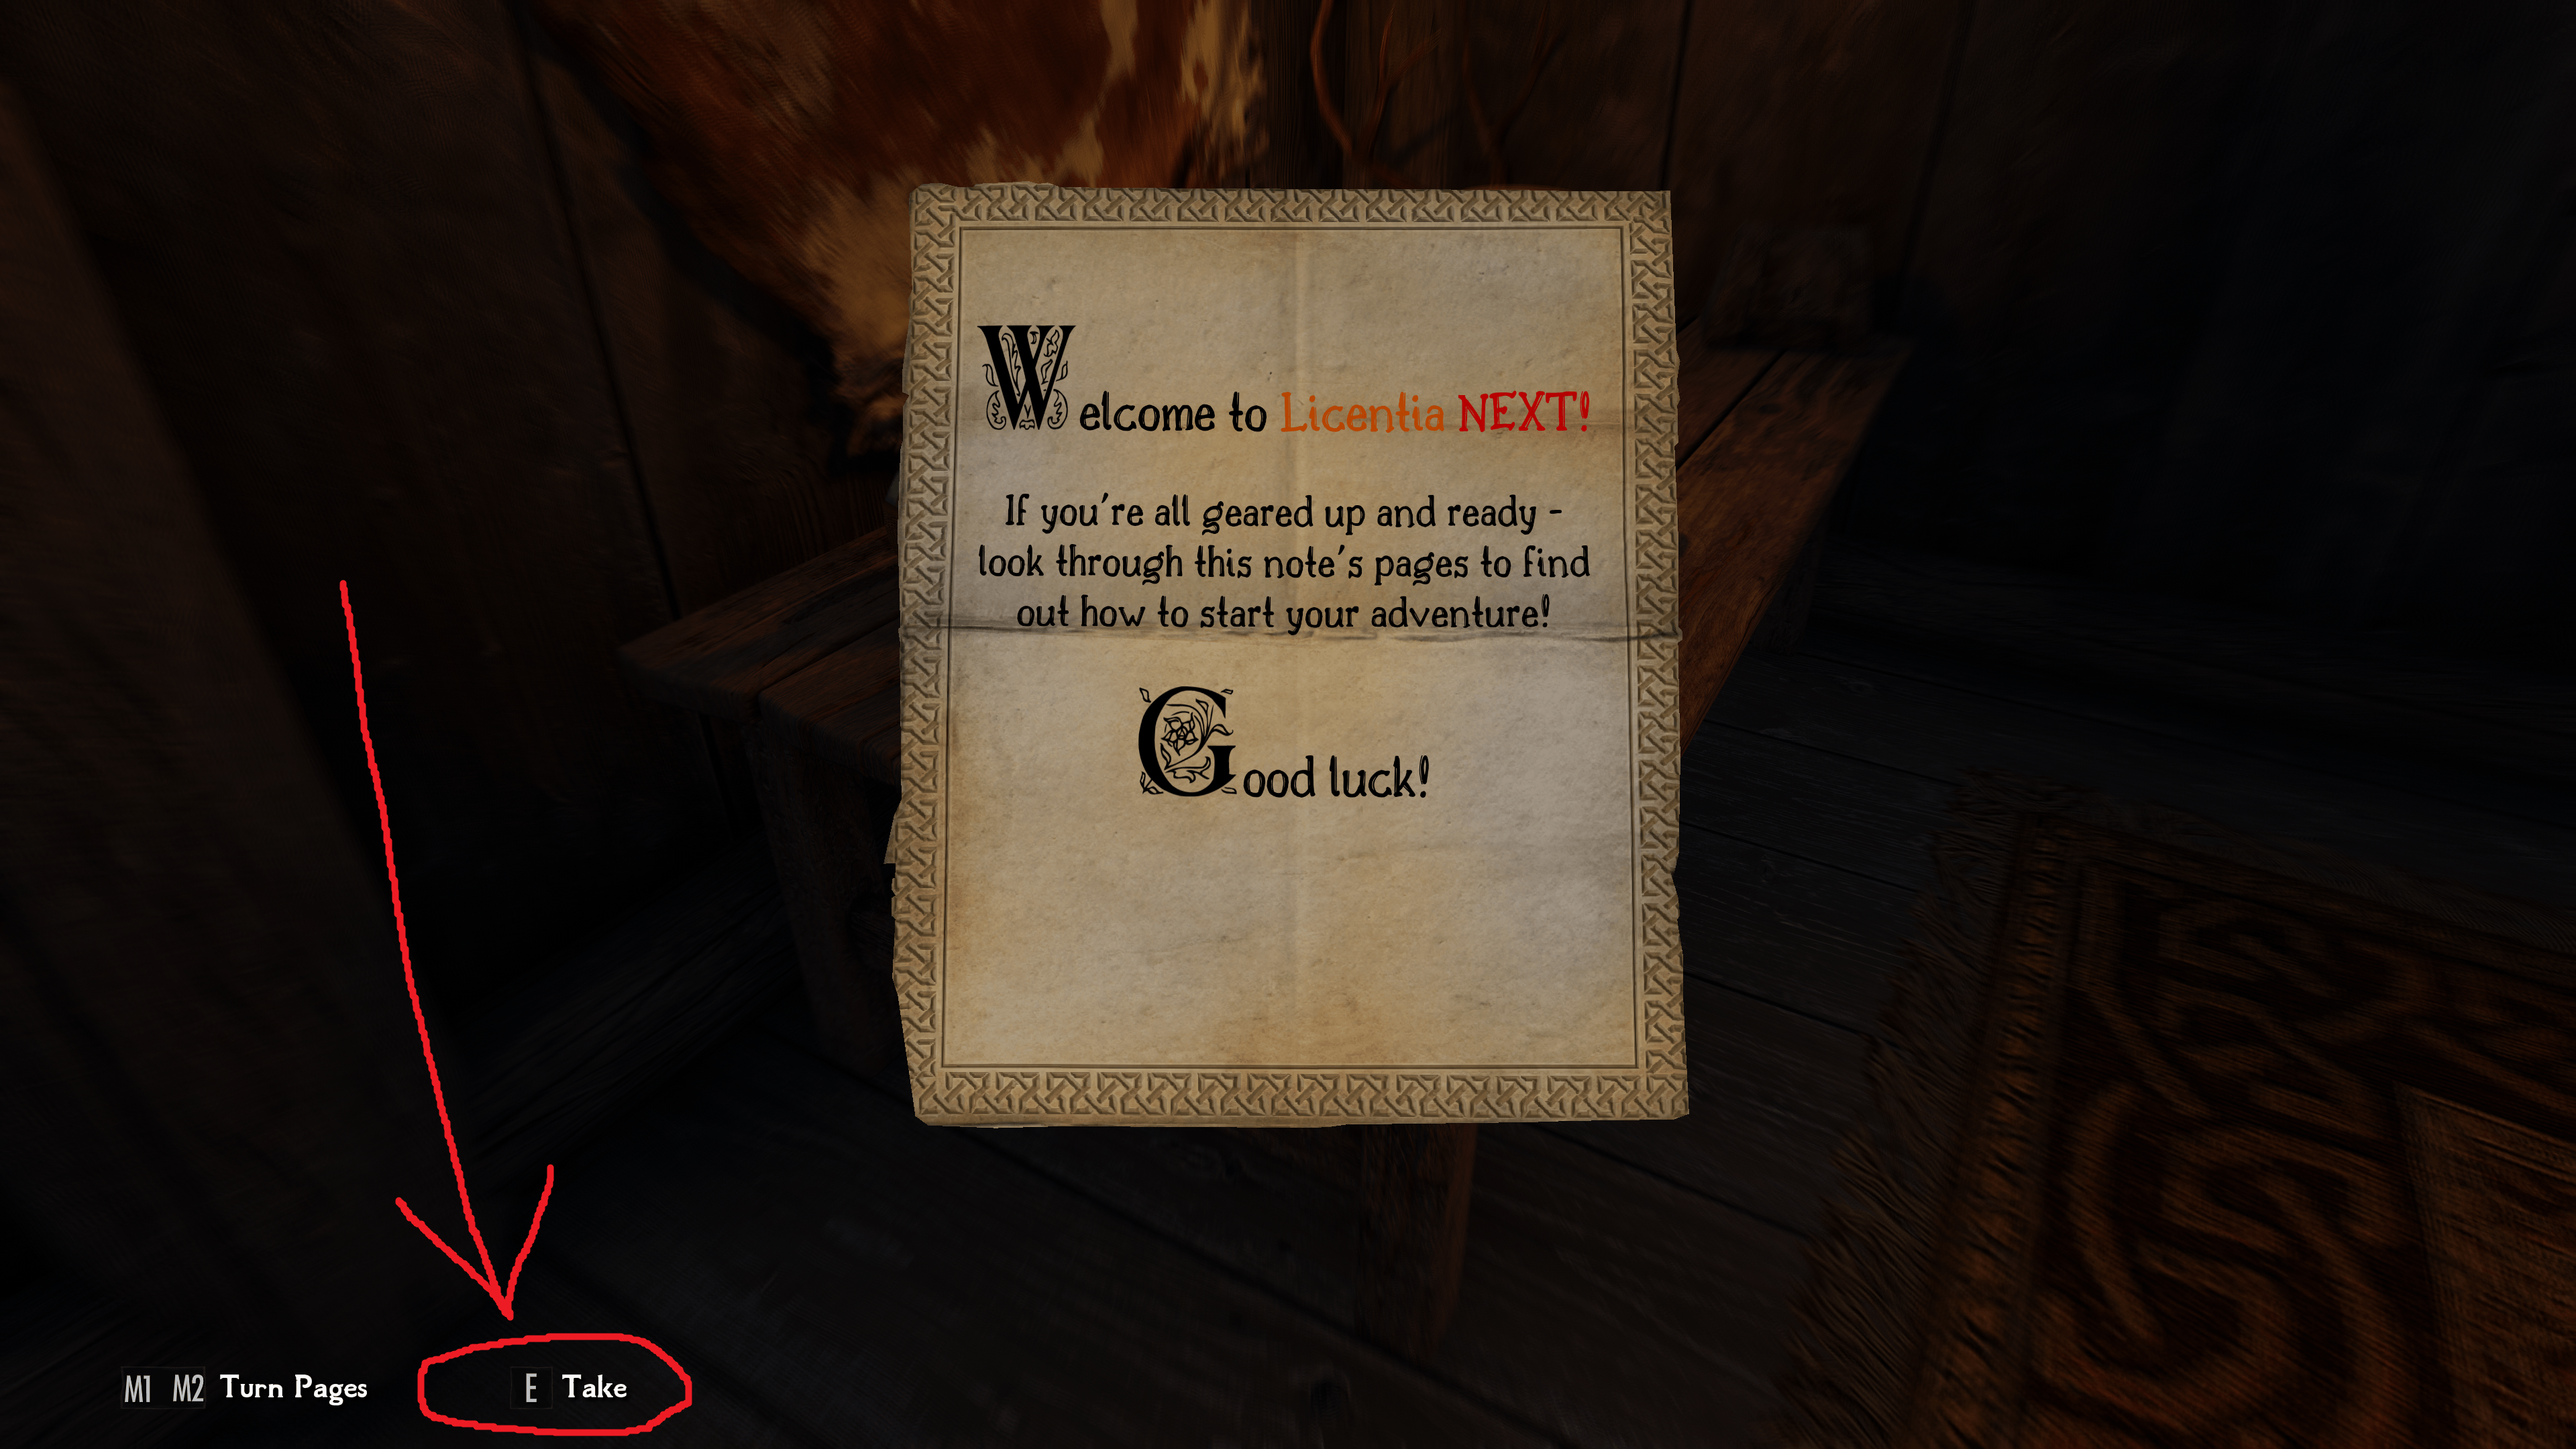
Read the note for a detailed explanation on how to start the game, and take it when you're done reading (it would be stored in your inventory so you can read it later if you want to):
-
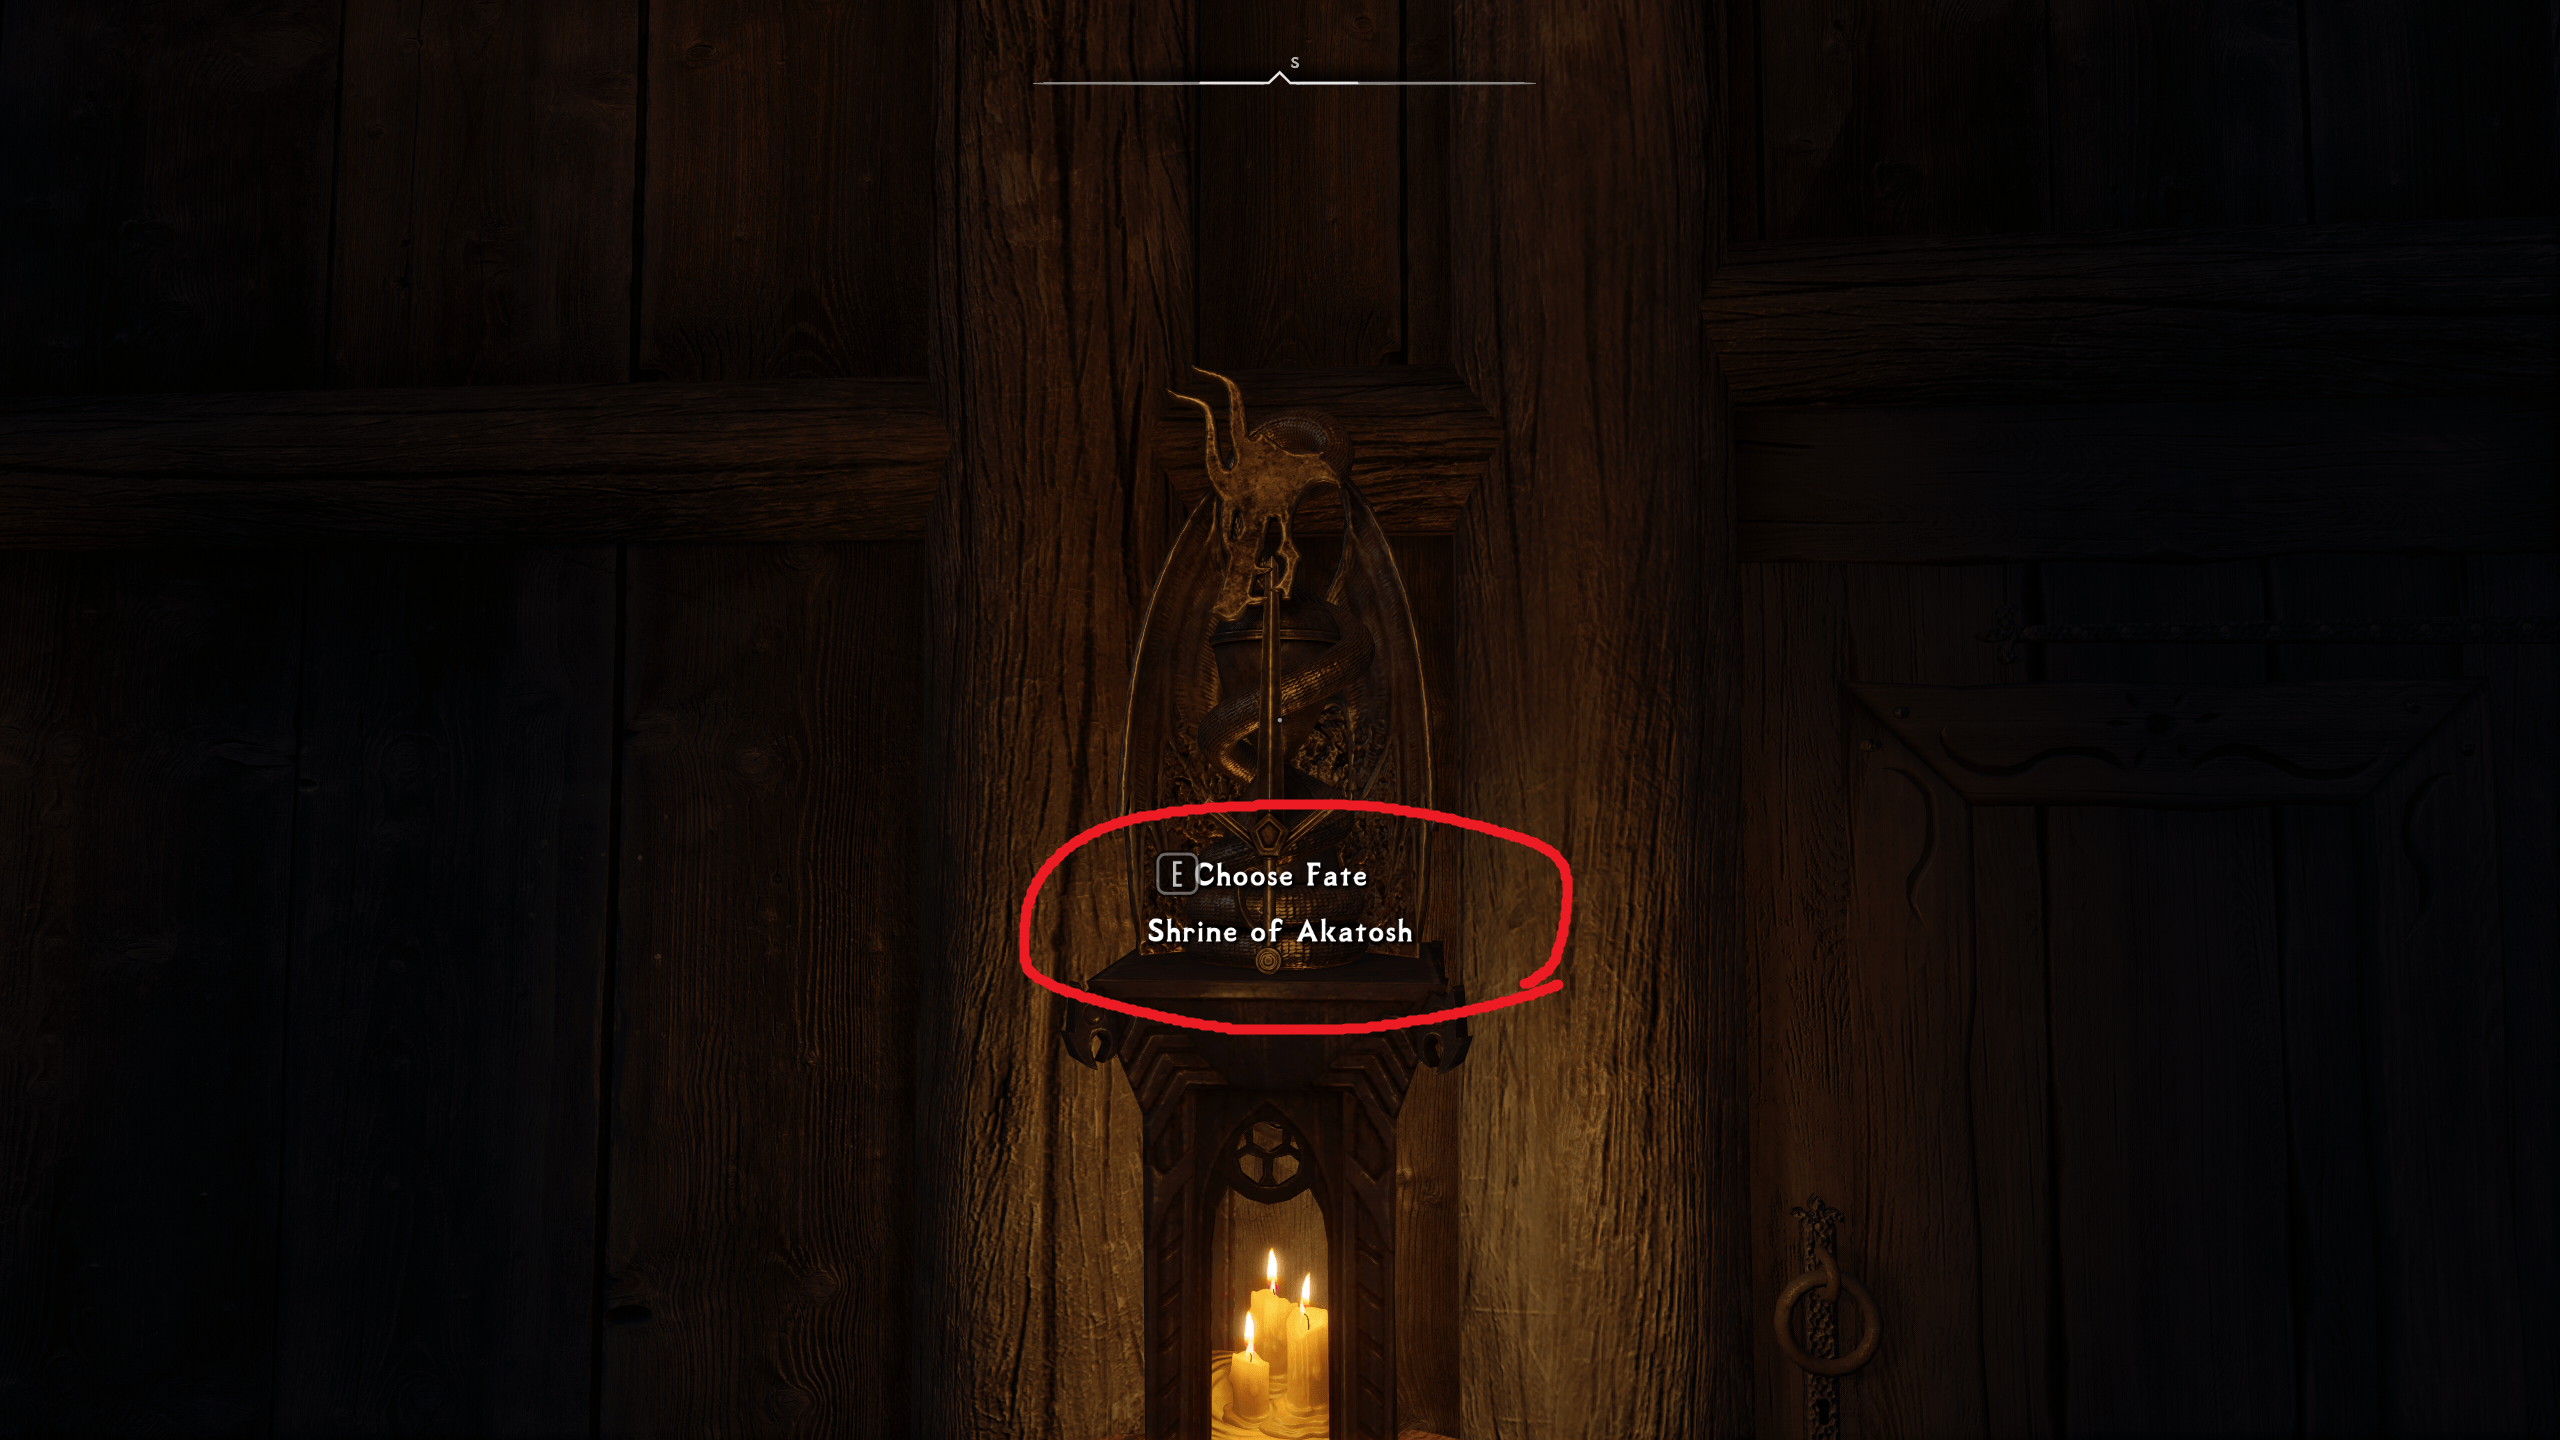
Now approach the Shrine of Akatosh on your right and interact with it:
-
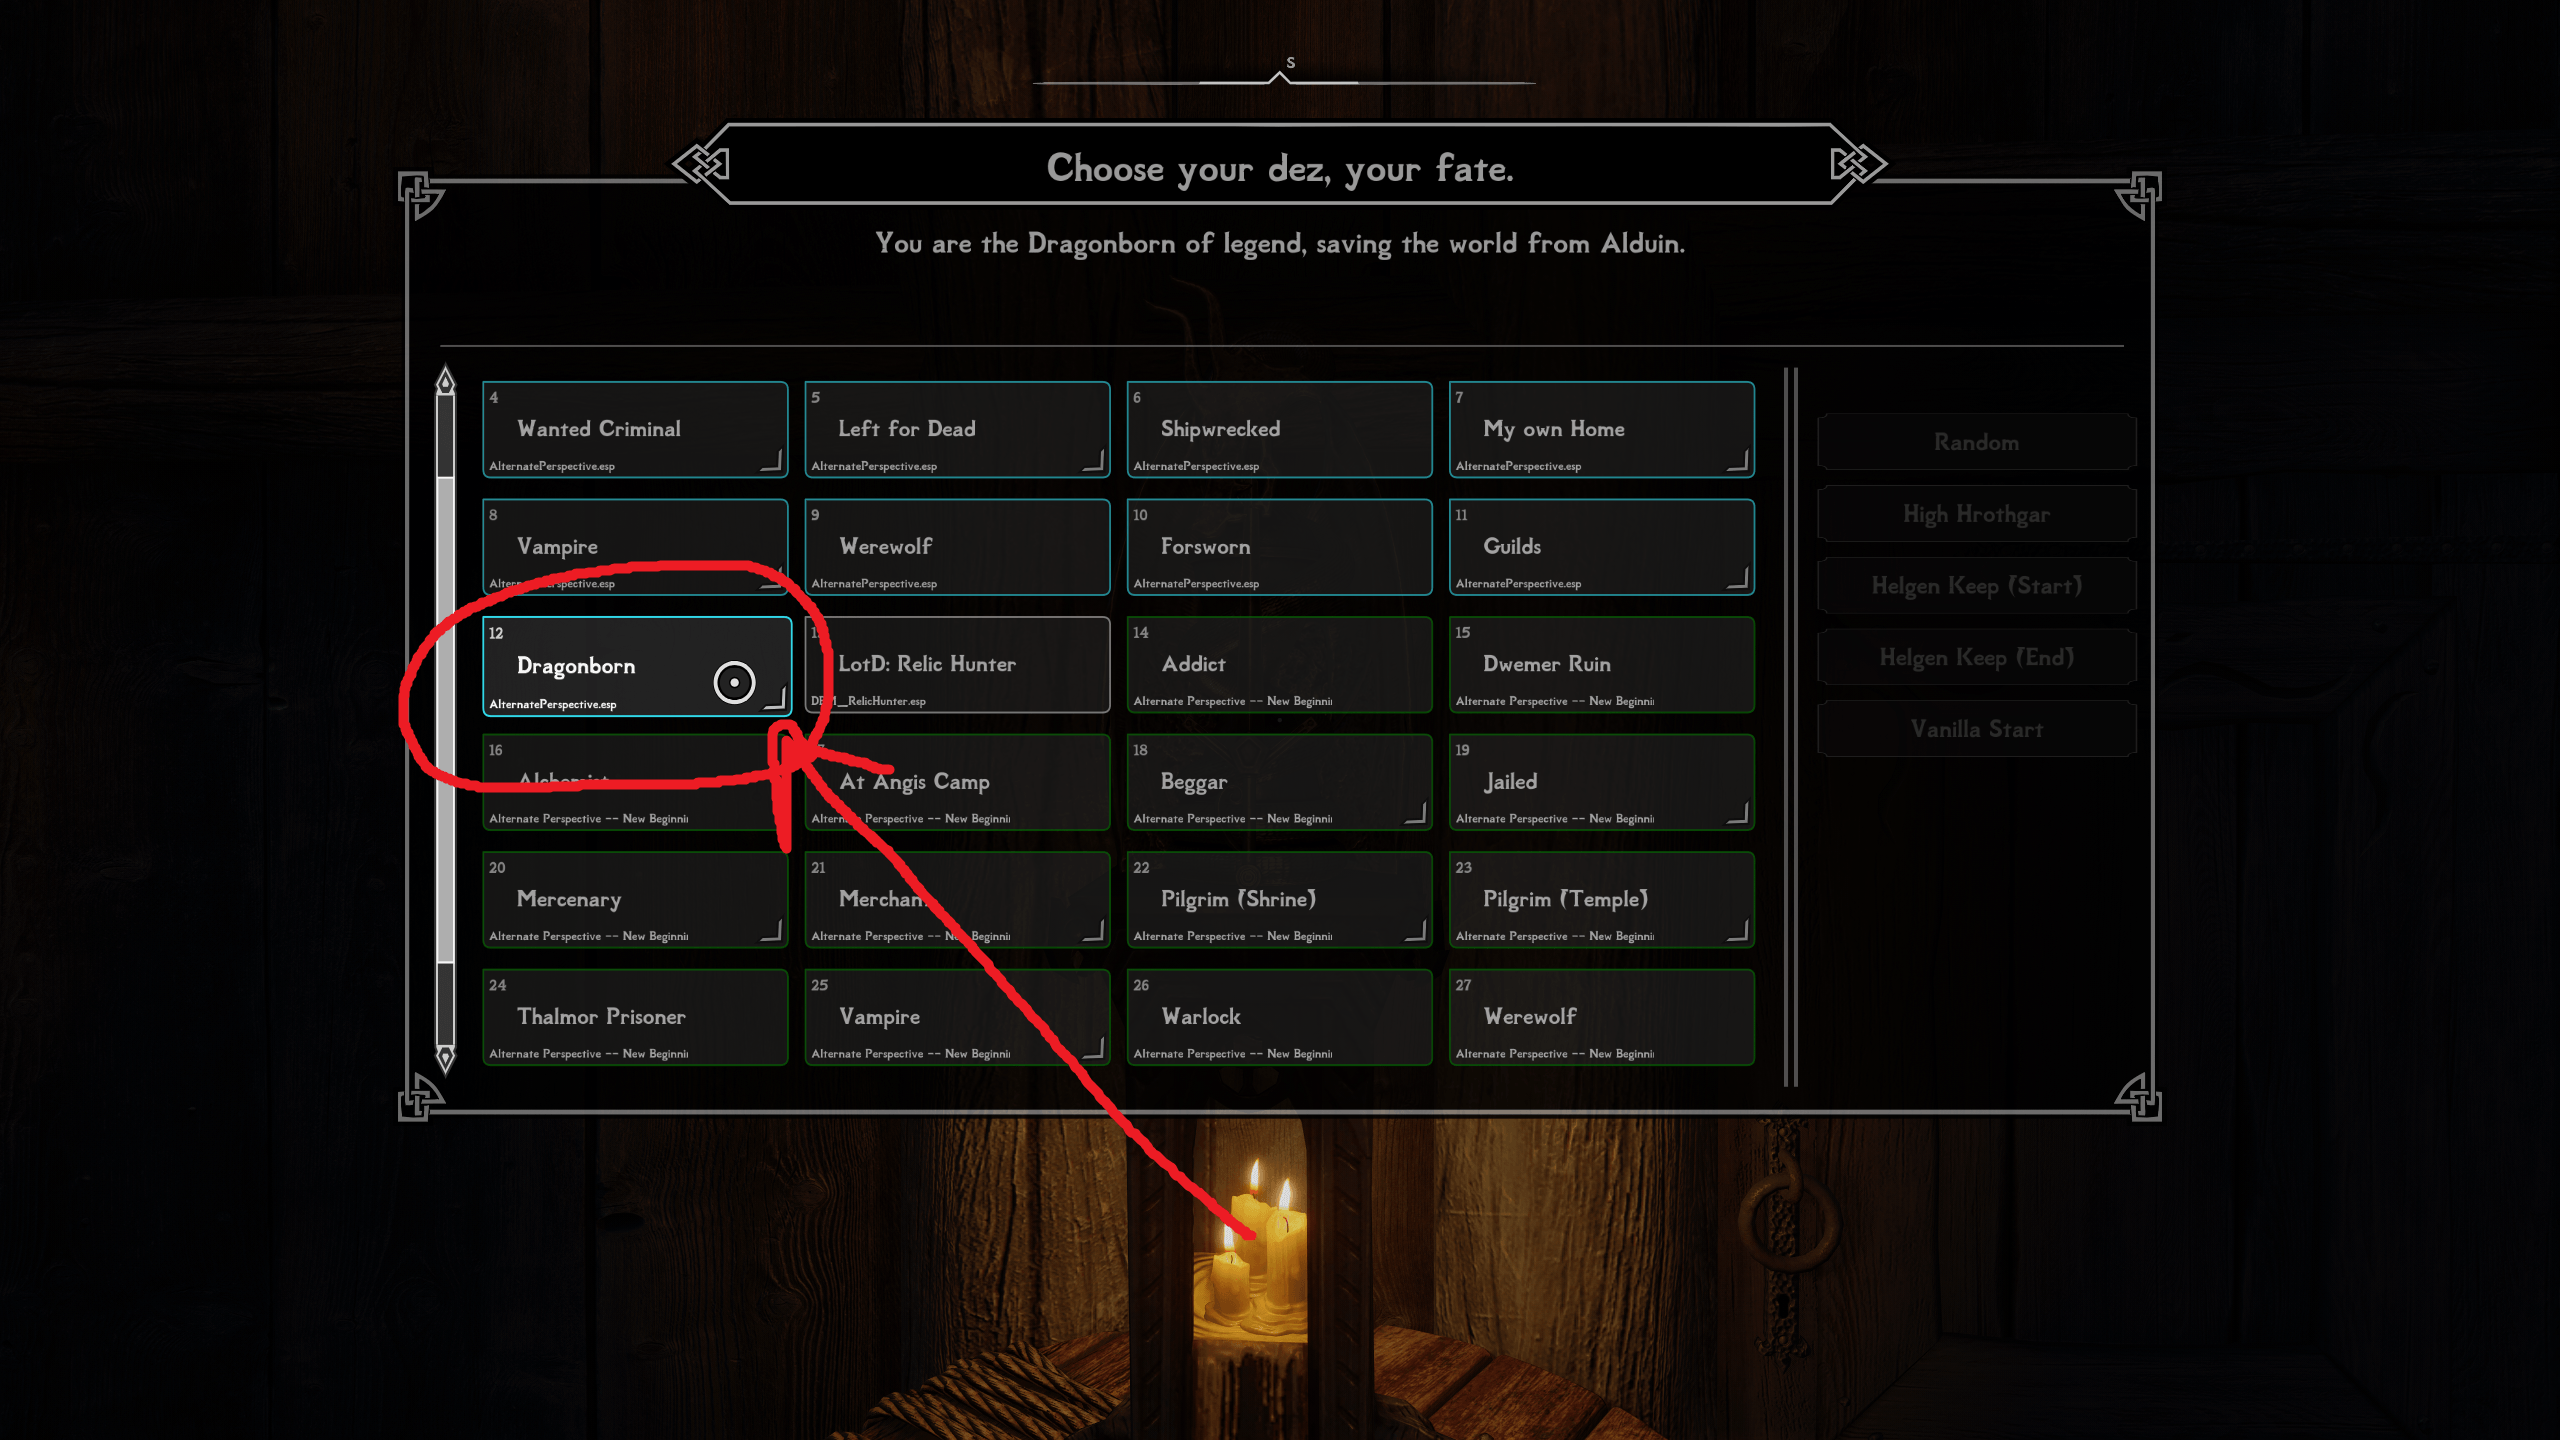
You would be prompted with the game start choices. Here's the example of the recommended choices for the normal game start:

-
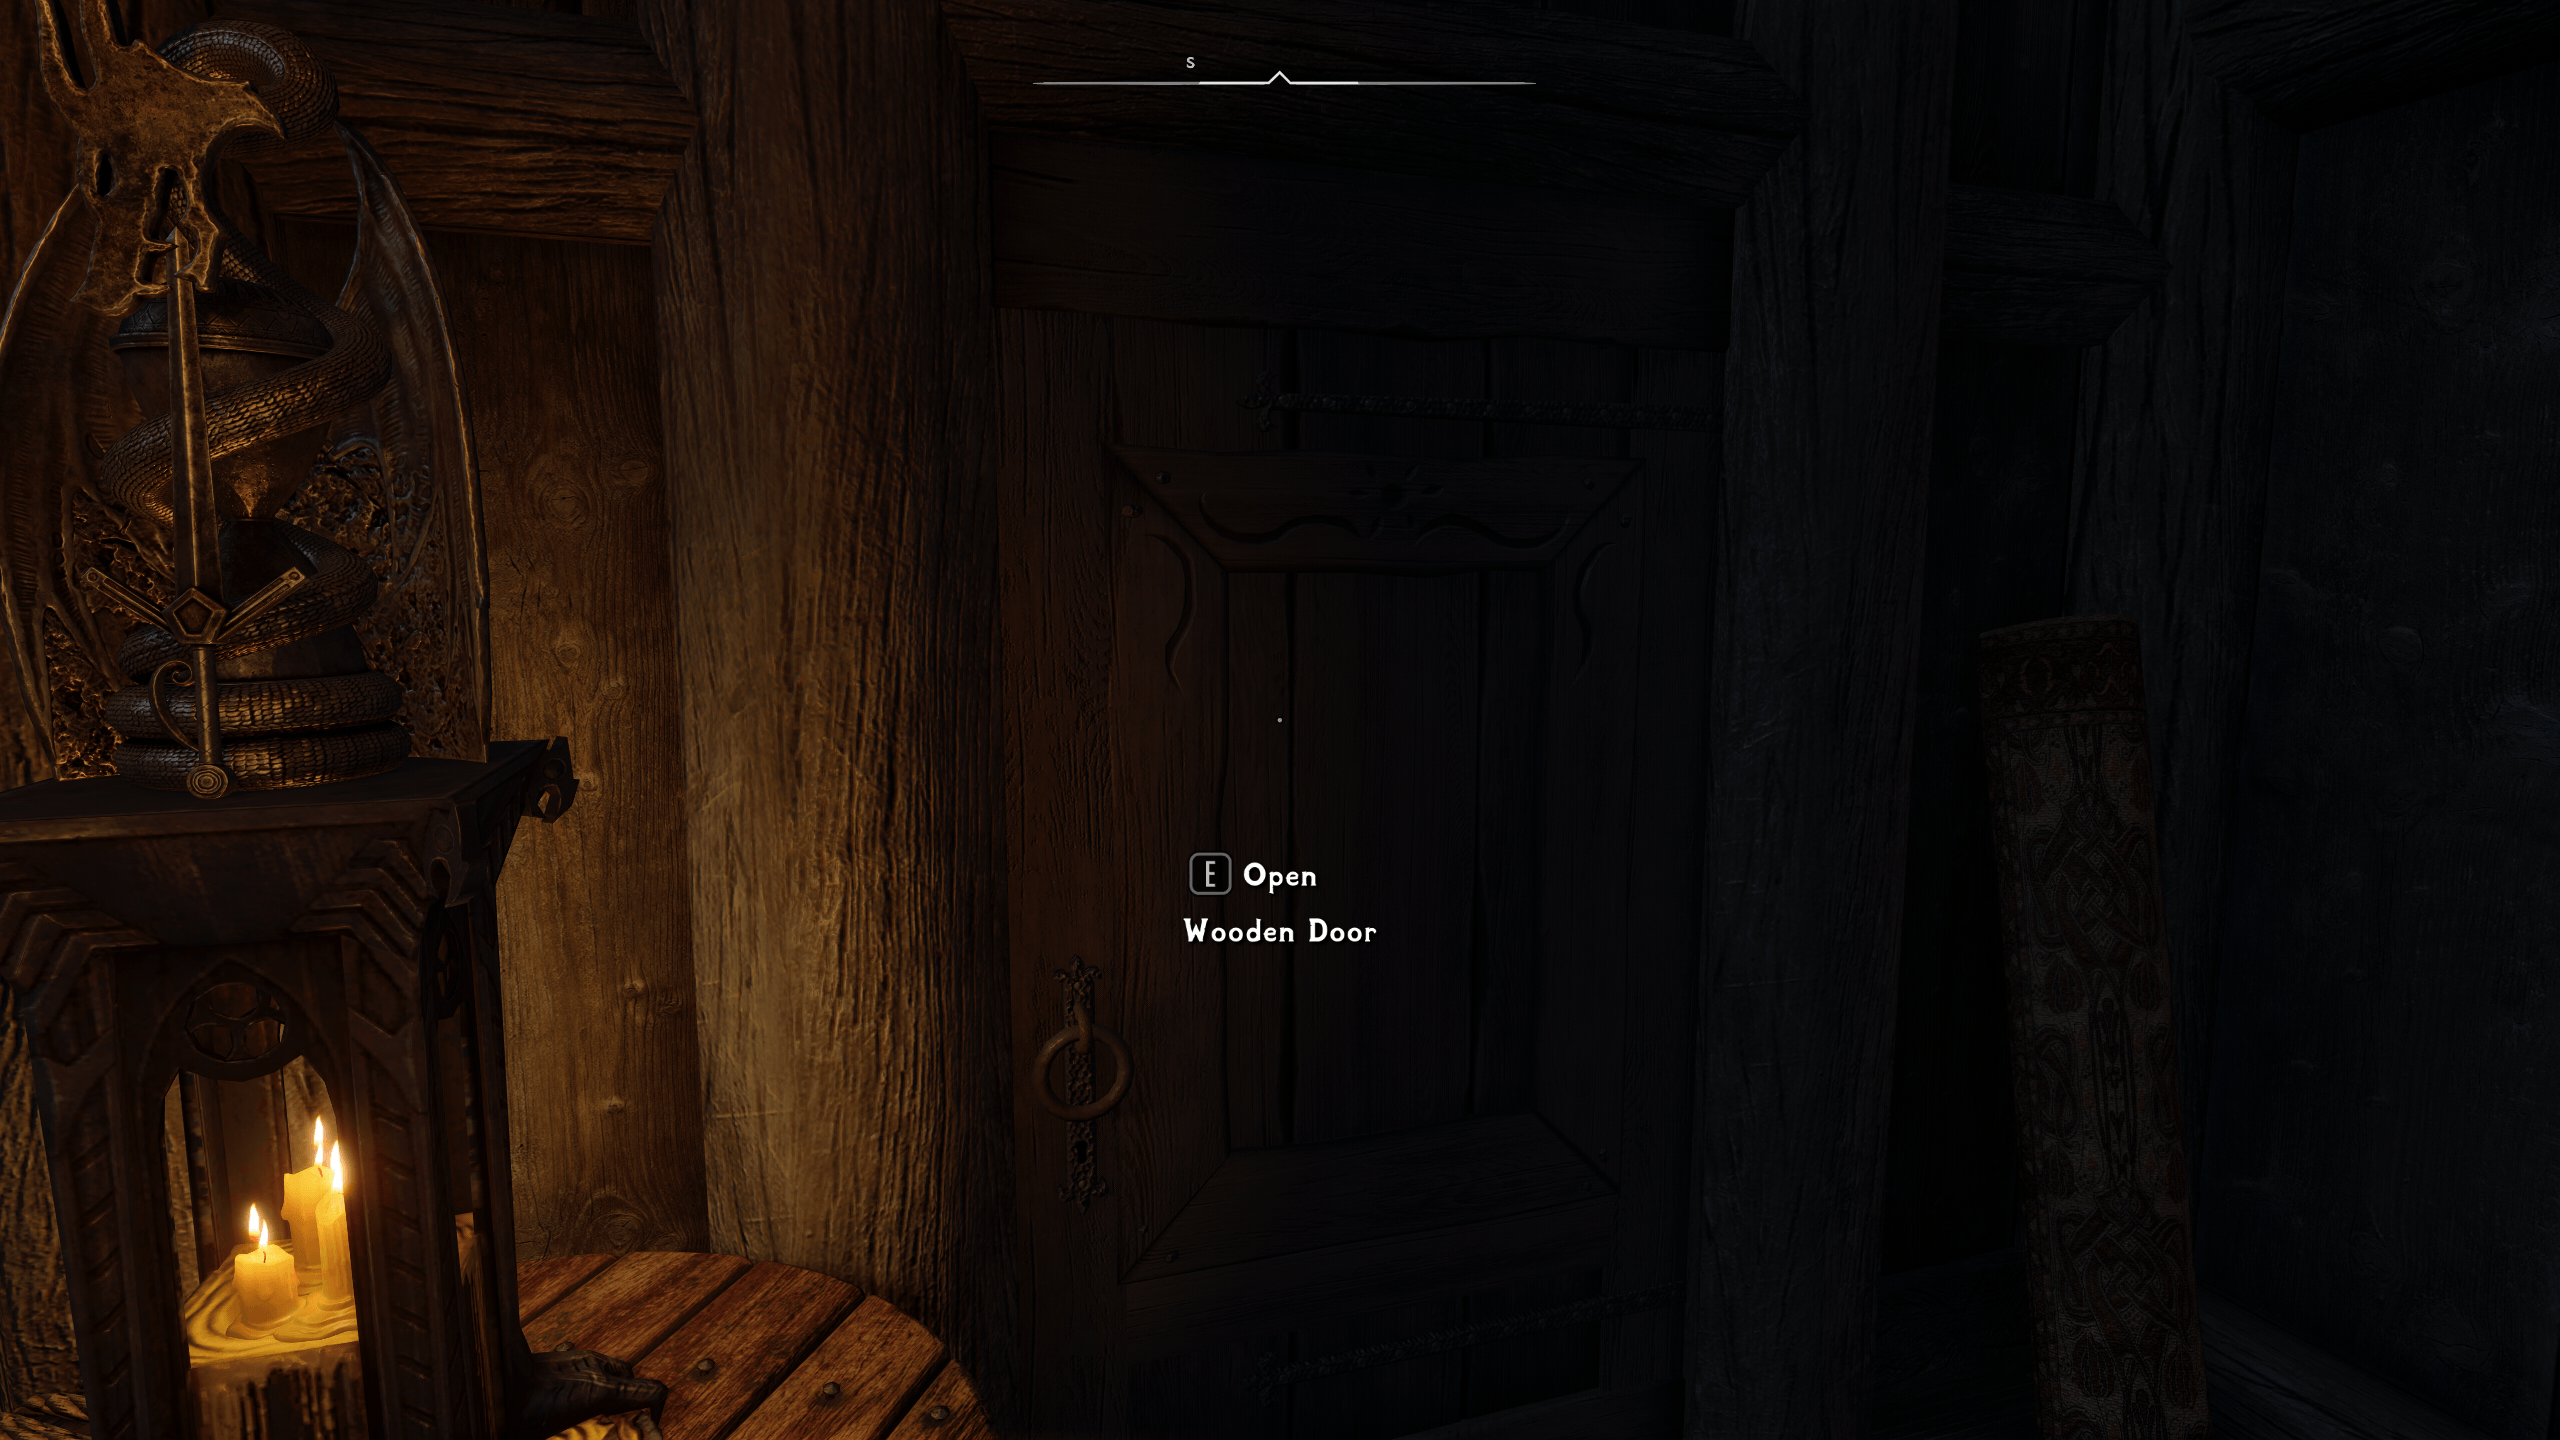
After you've made your choices, the interface window would auto-close. Go to the door on the right and open it:
-
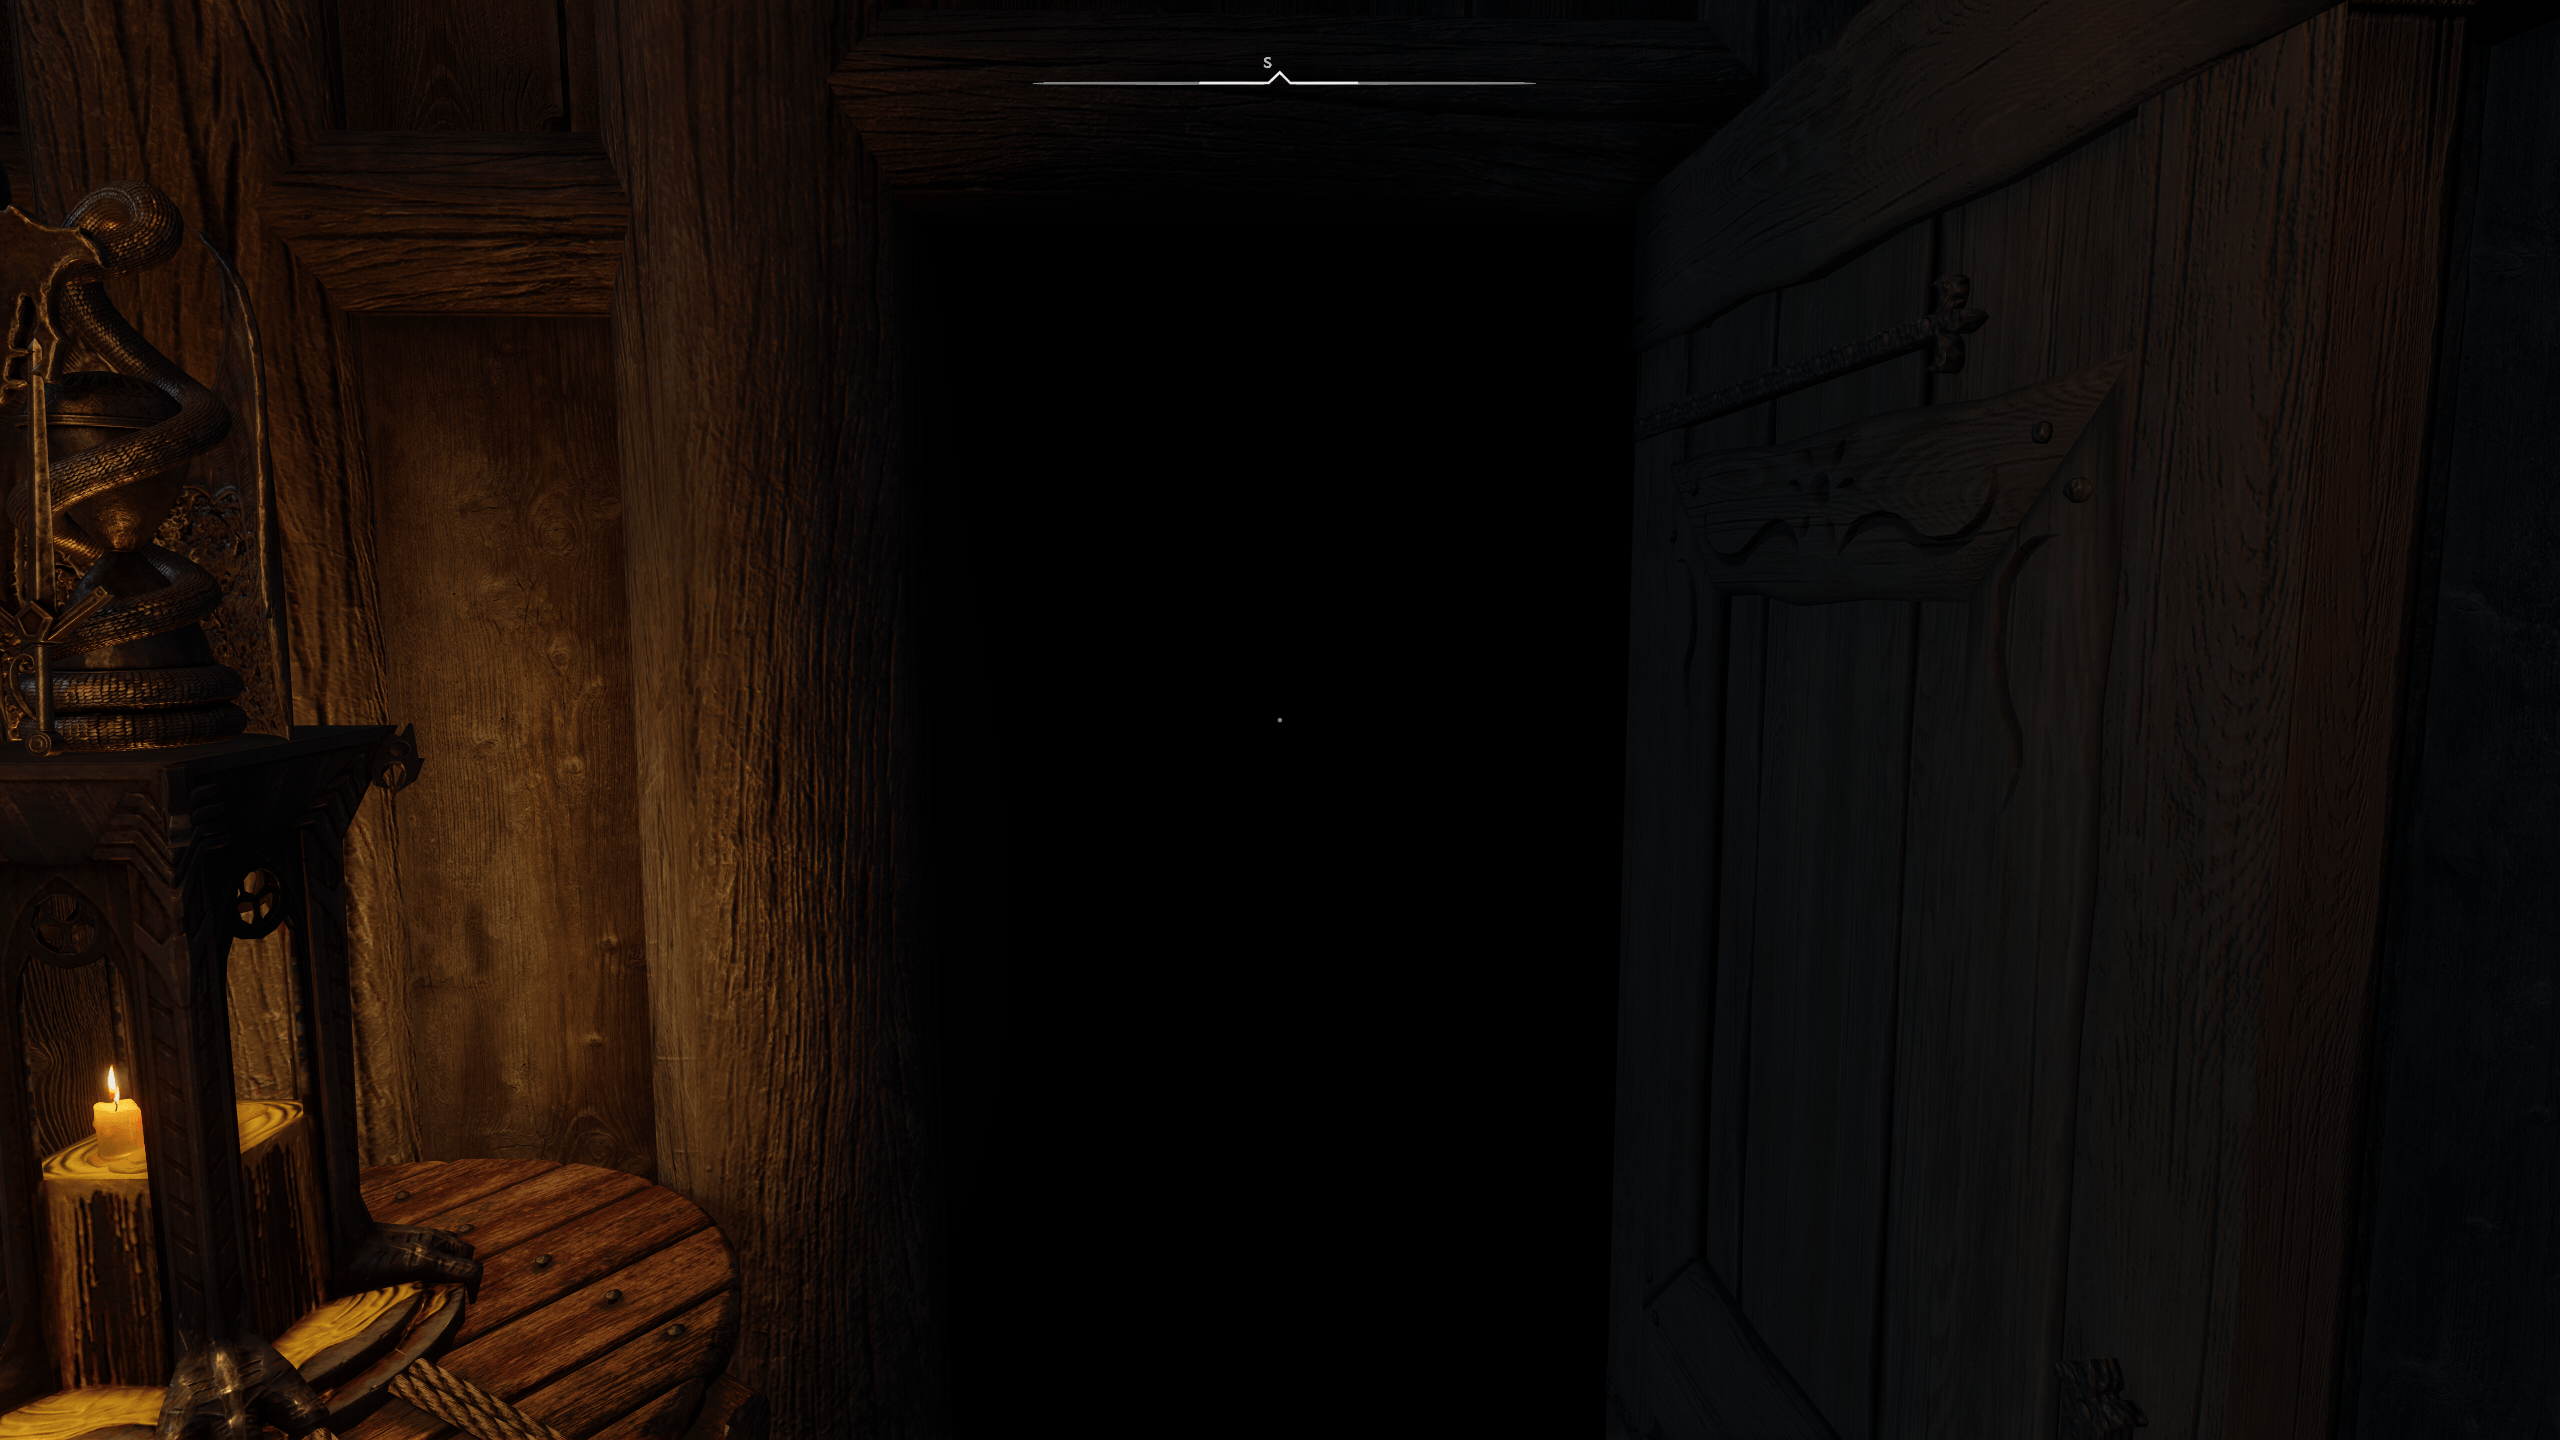
You'd see the black void behind the door - walk STRAIGHT into it:
Now if you've followed the recommended steps above, you'd be asked about a choice between Hadvar and Ralof - choose Ralof here (it would give you an additional
Amorous Adventuresquest with his sister):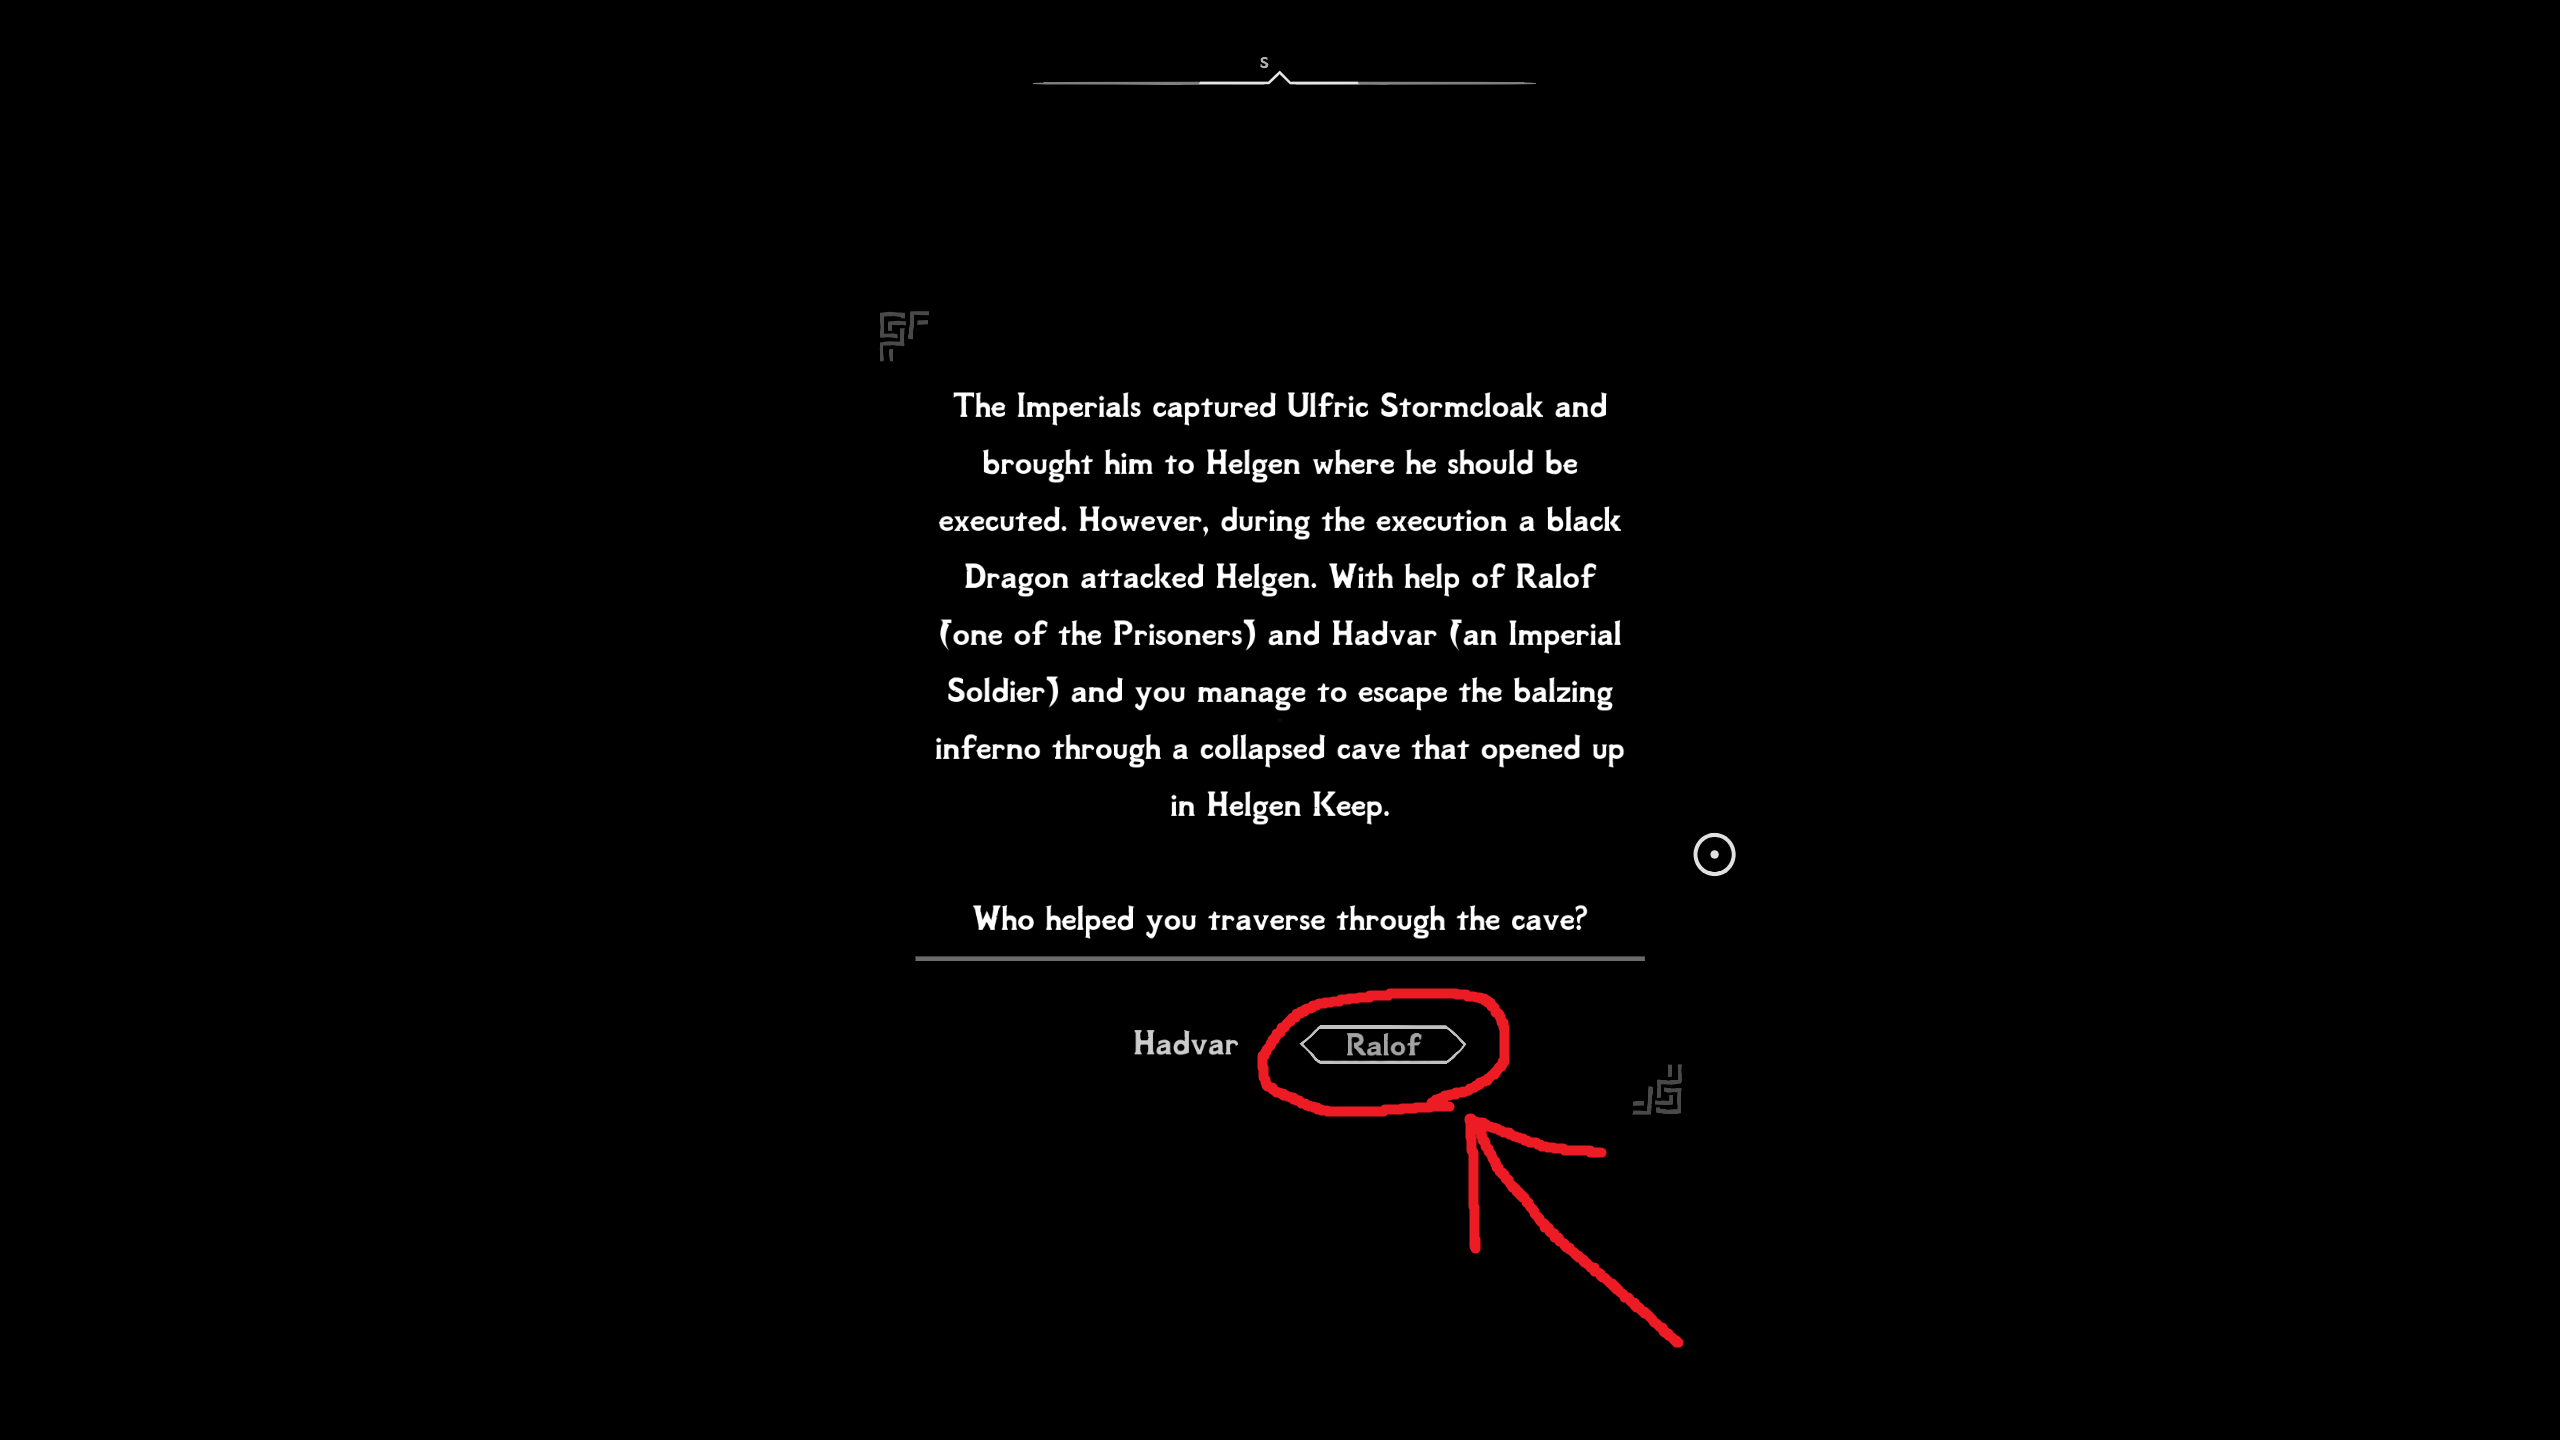
And you'll be teleported to the starting location you chose in the previous step (end of Helgen Keep for this particular choice).
tipIf you've chosen any random NON-DRAGONBORN start, make sure to carefully re-read the part of the
How to start the game!note that explains how to avoid potential issues with such starts, and how to do Helgen to trigger the main quest.
-
-
That's it! You're now in the world of Skyrim, go play the game already 🎂 (and read the Final Notes for more beginner tips and tricks).